
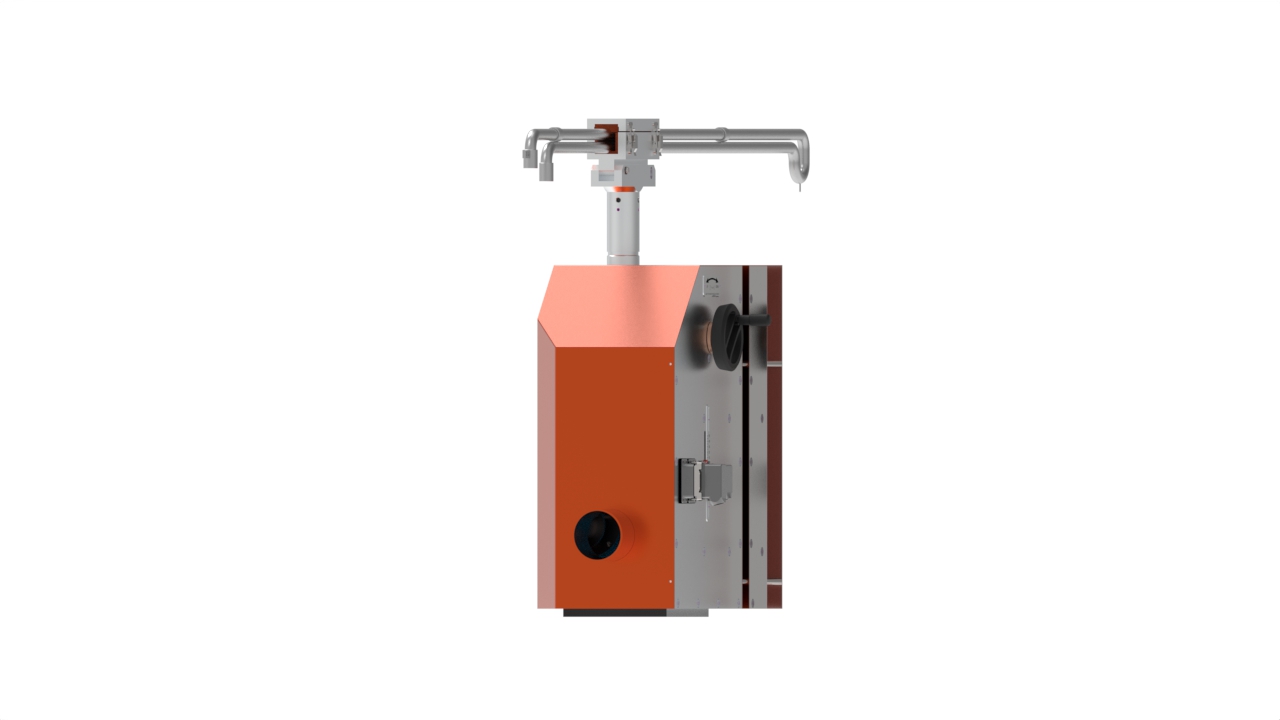
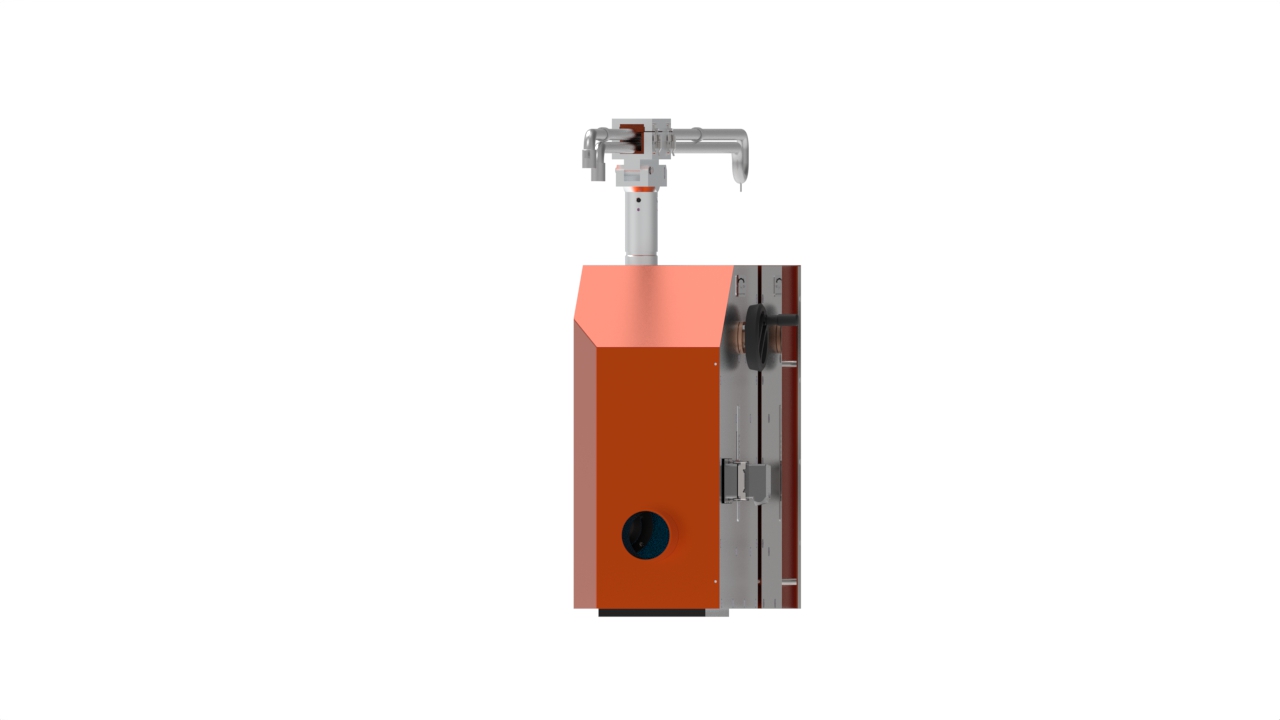
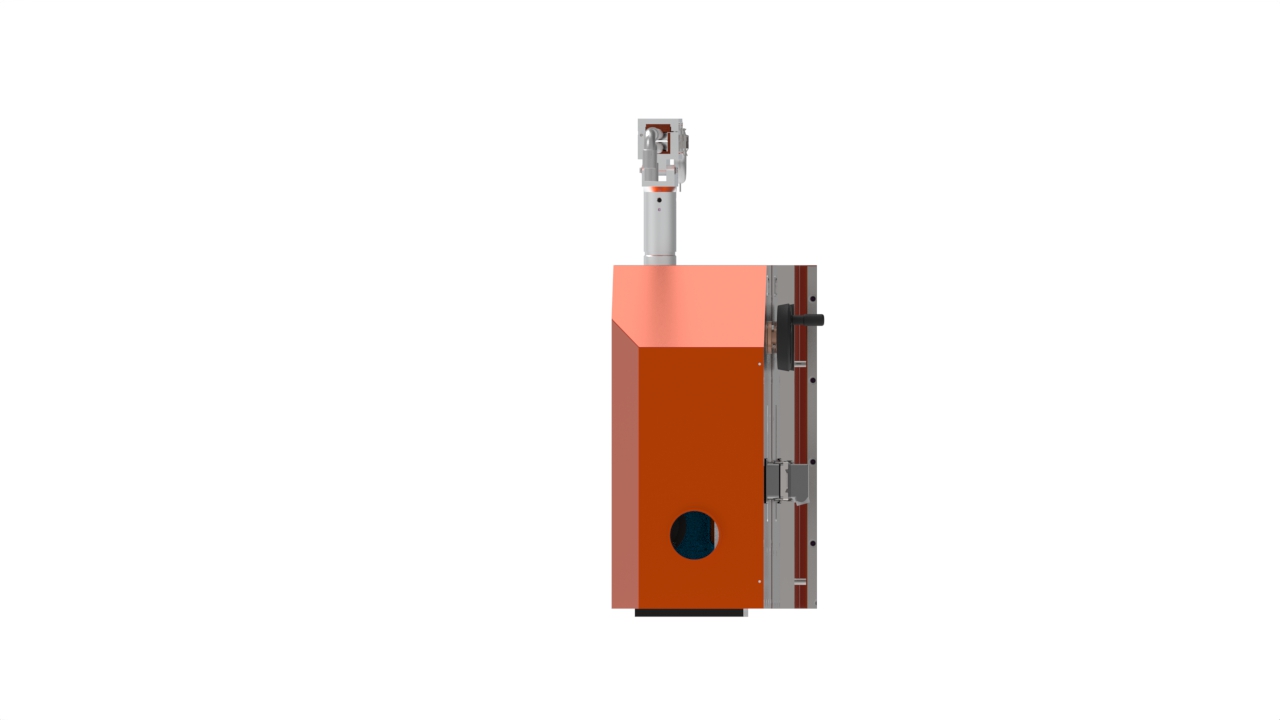
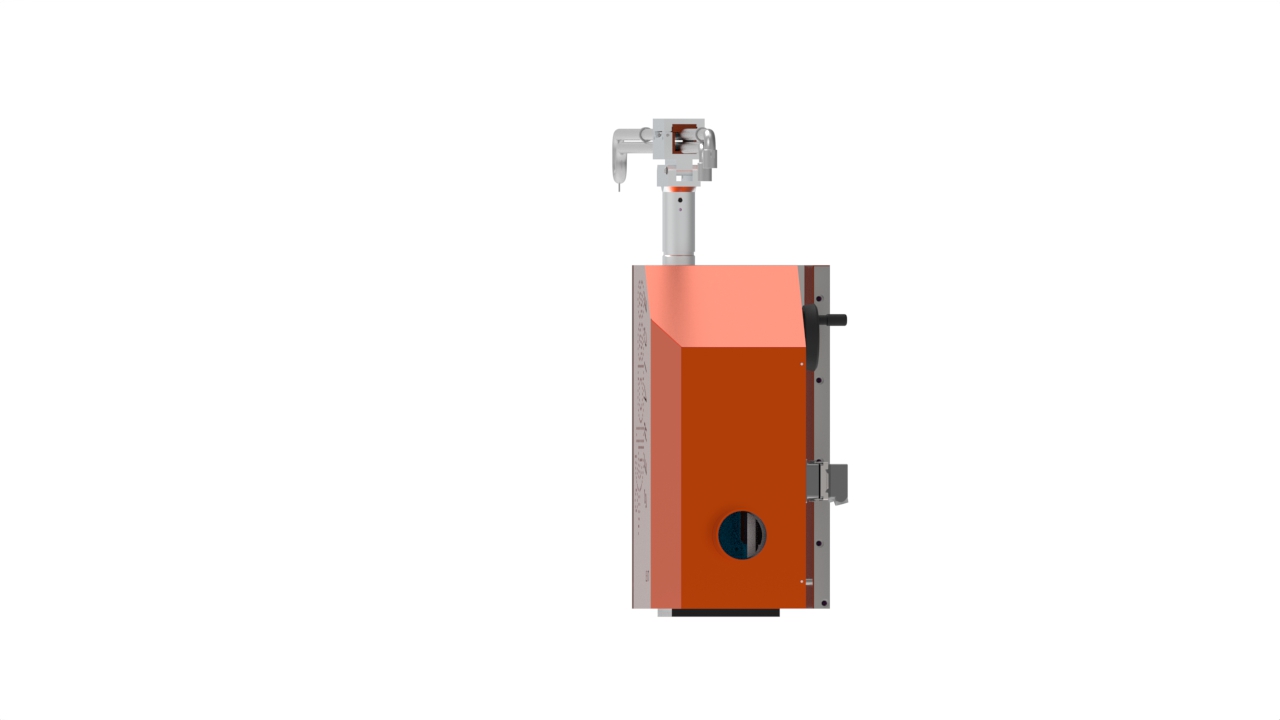

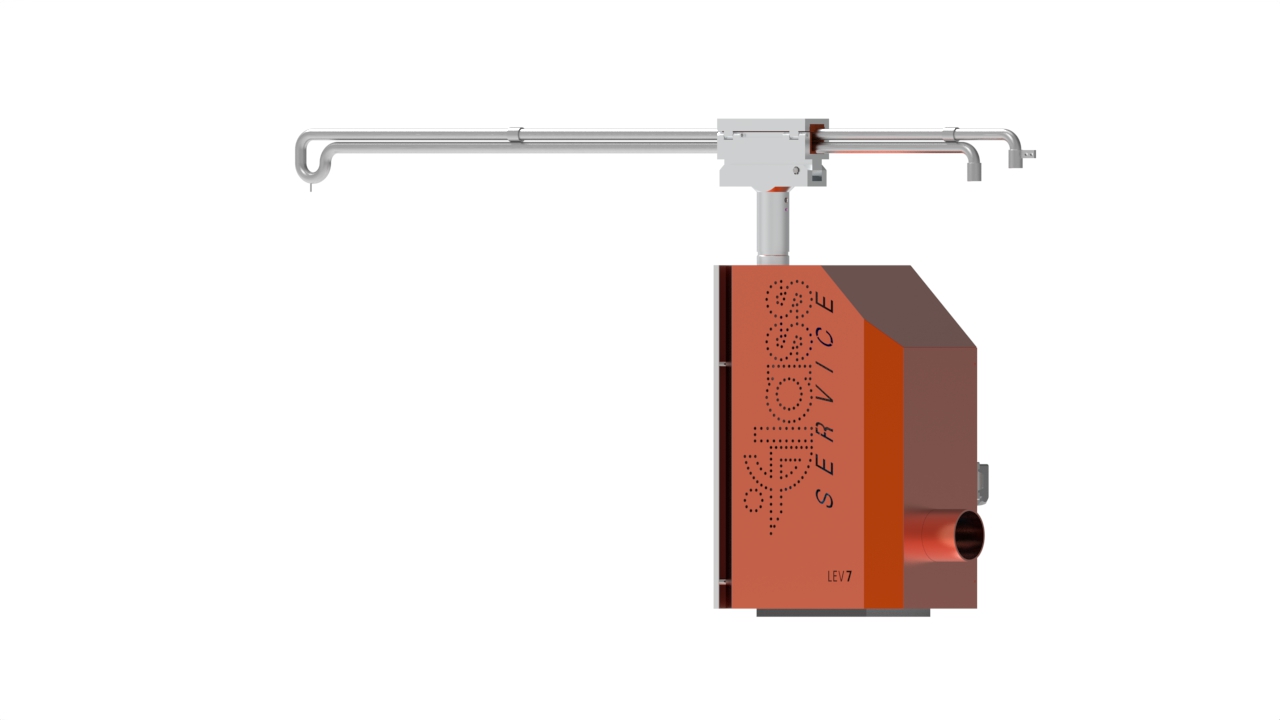
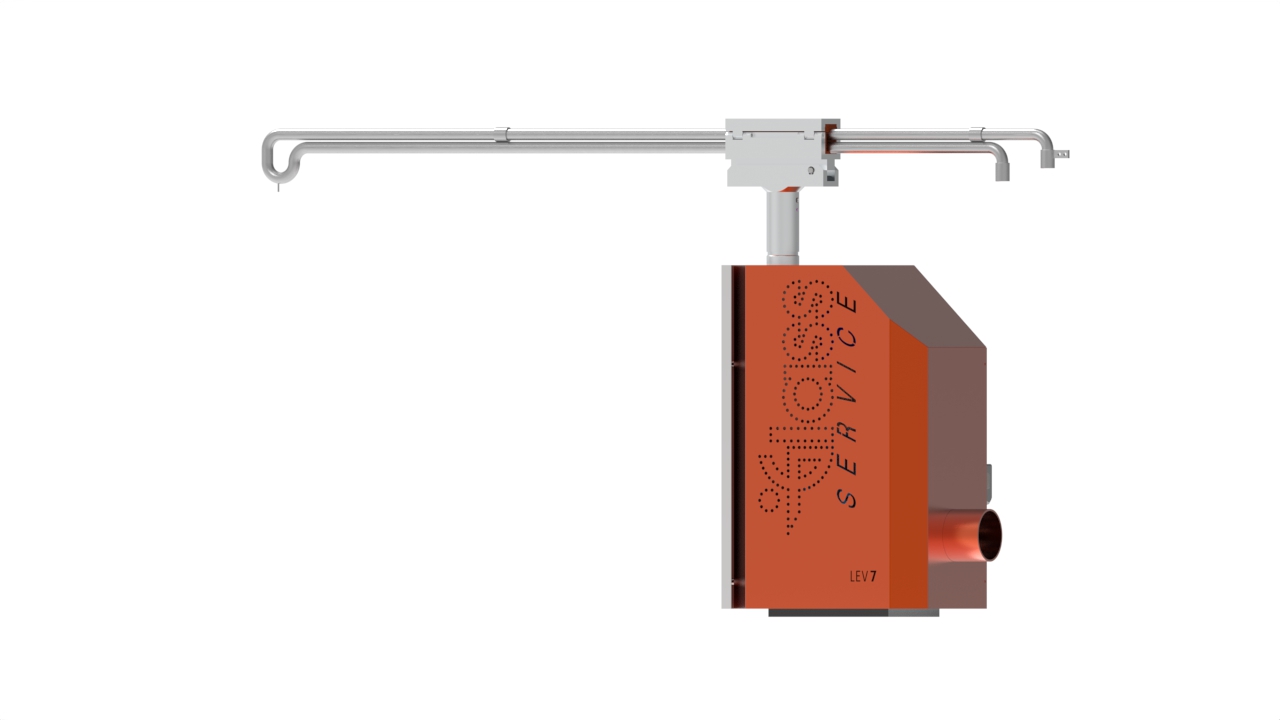
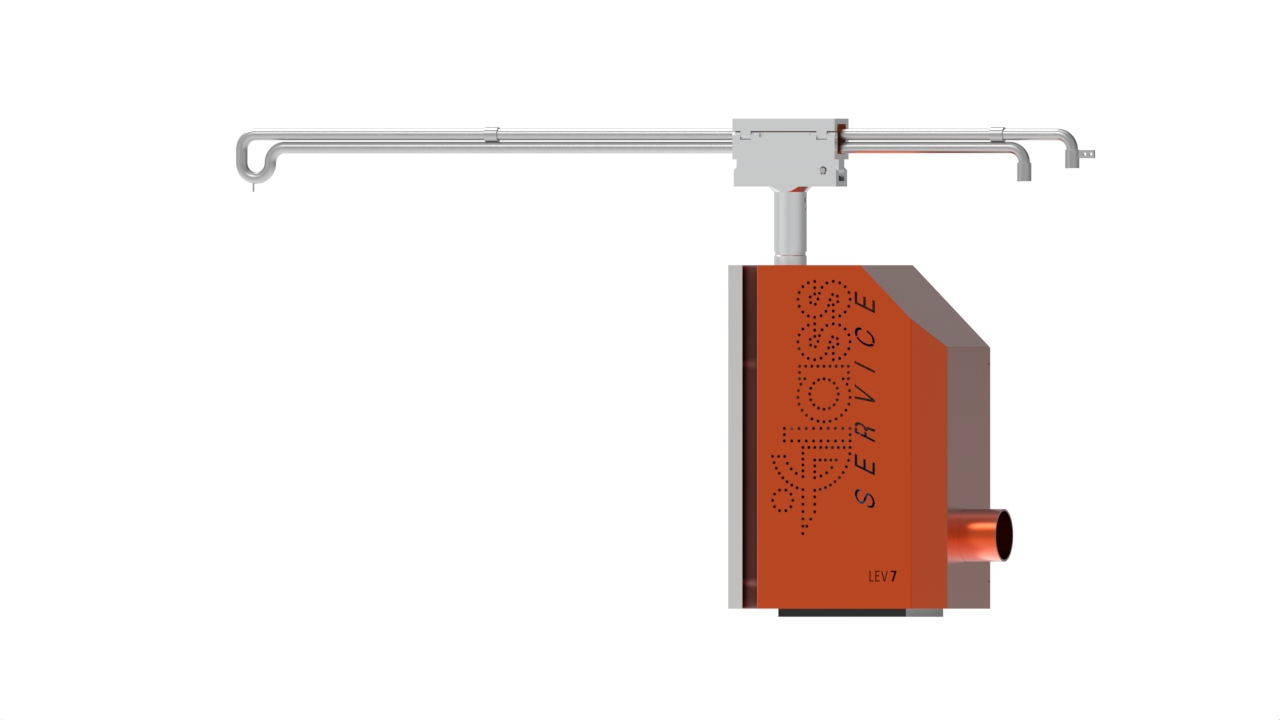


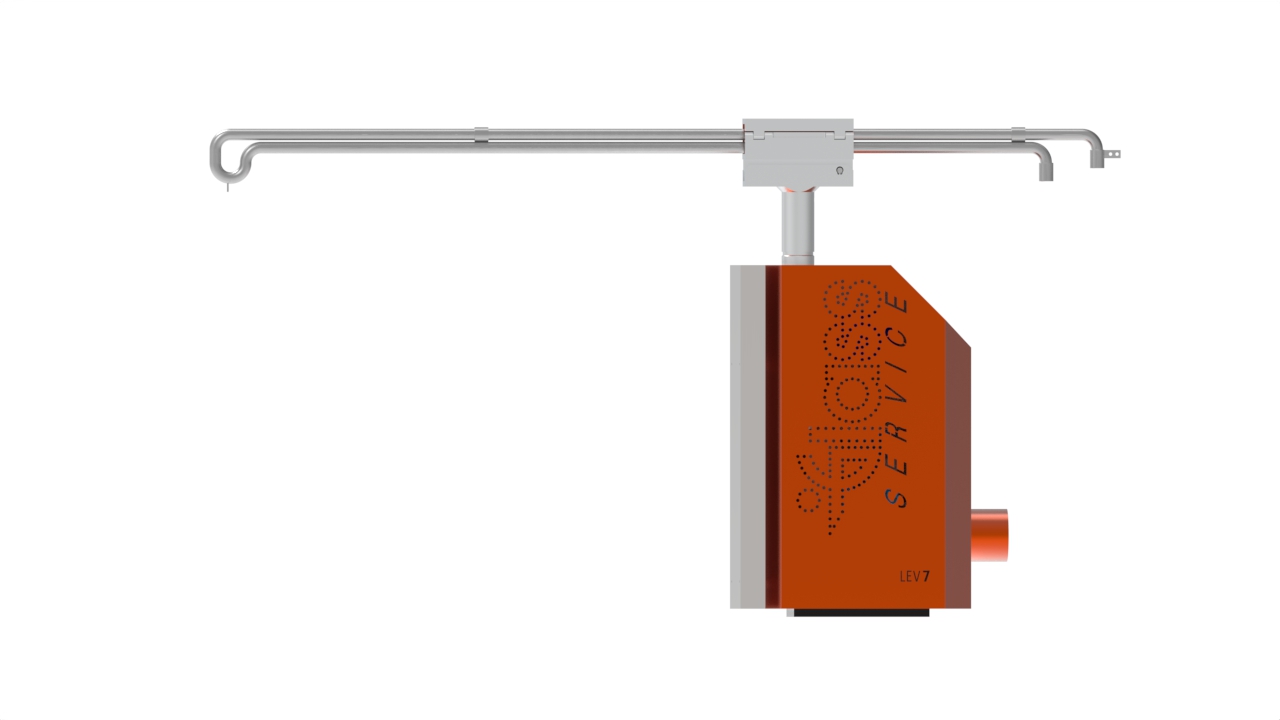

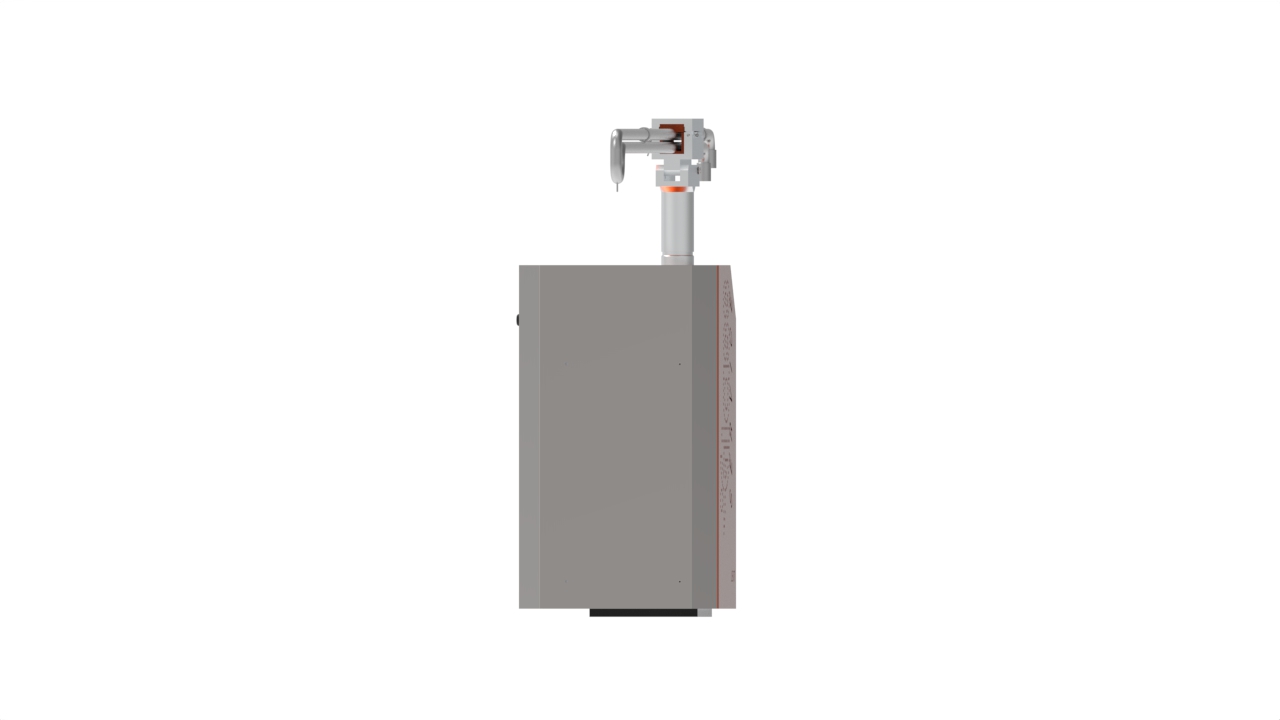
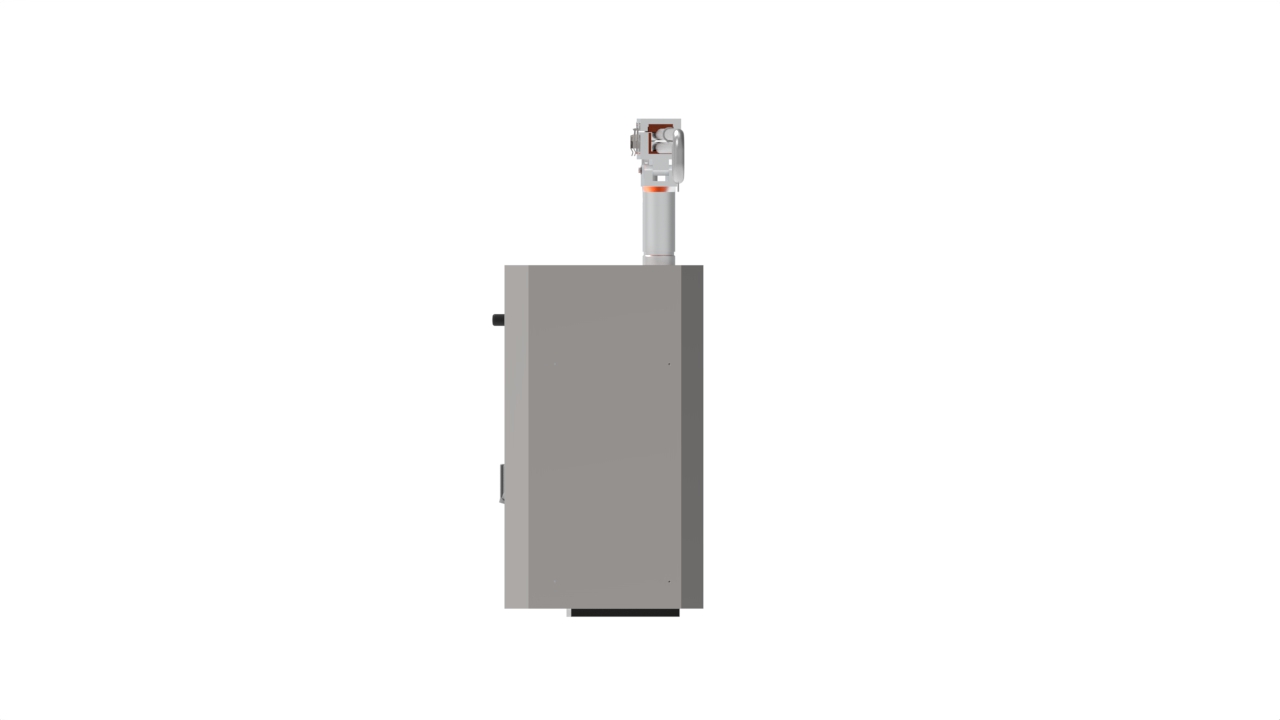
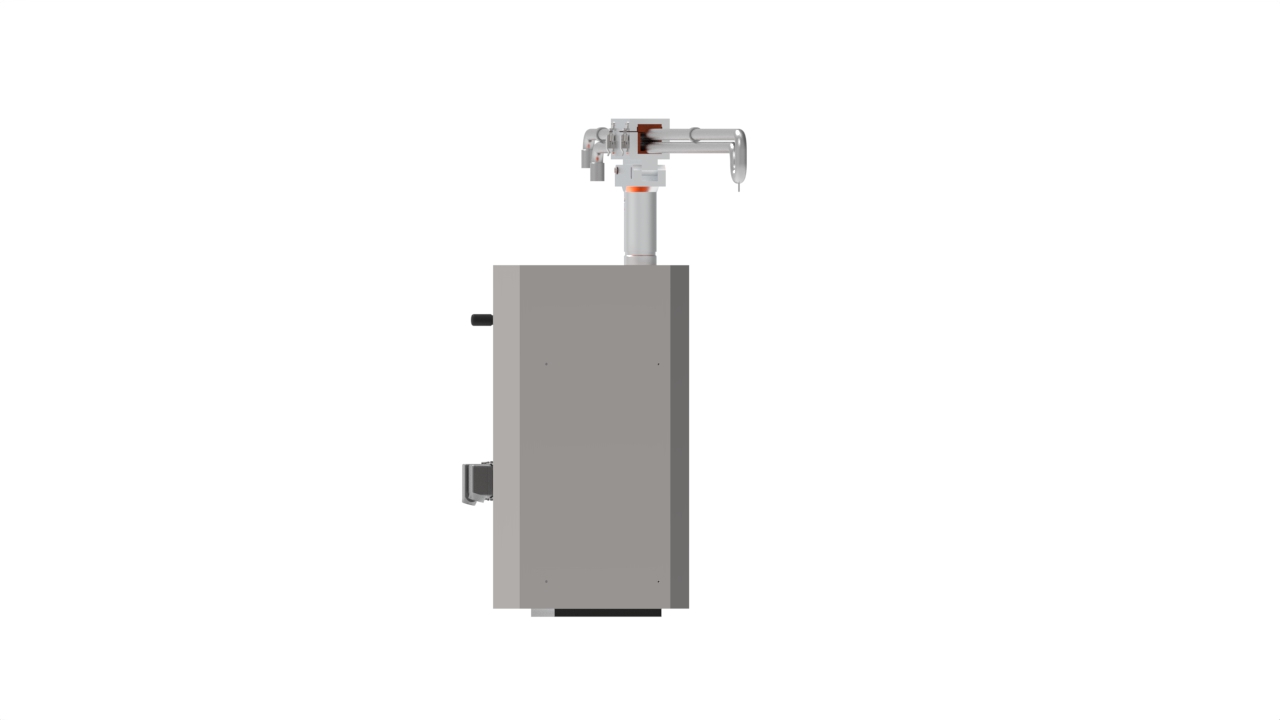
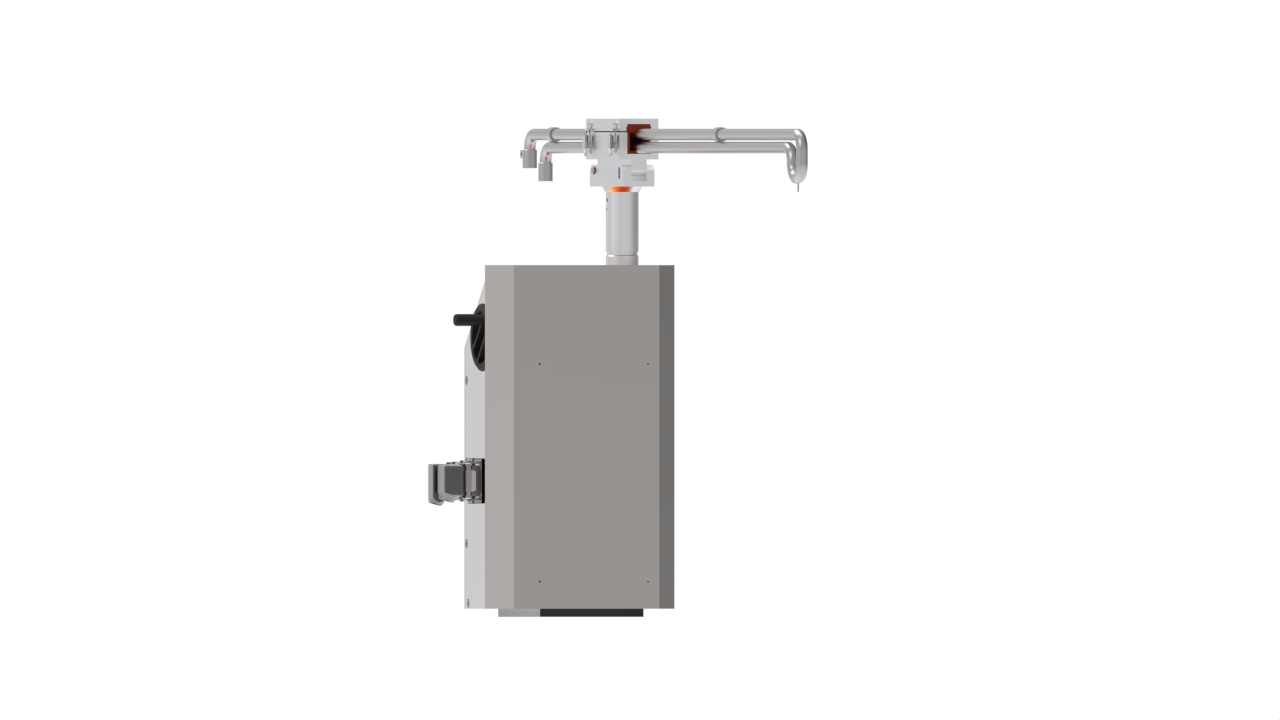
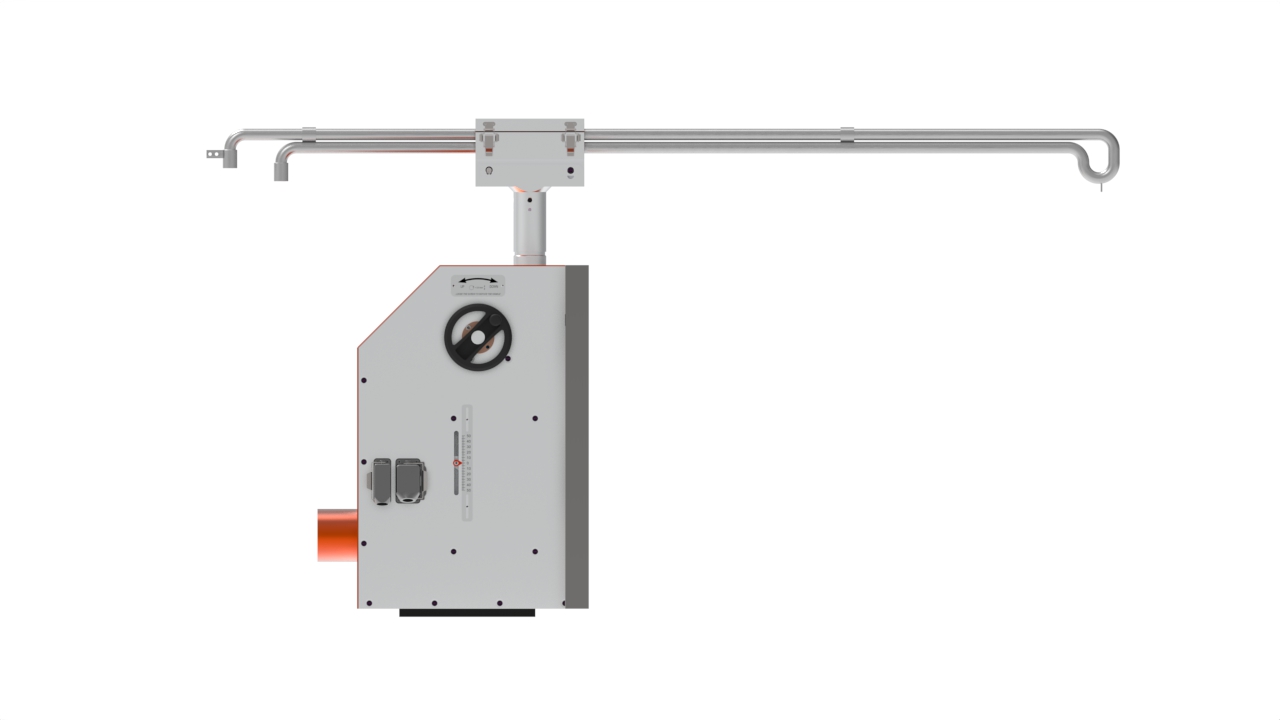
Furnace equipments products
Control Machine
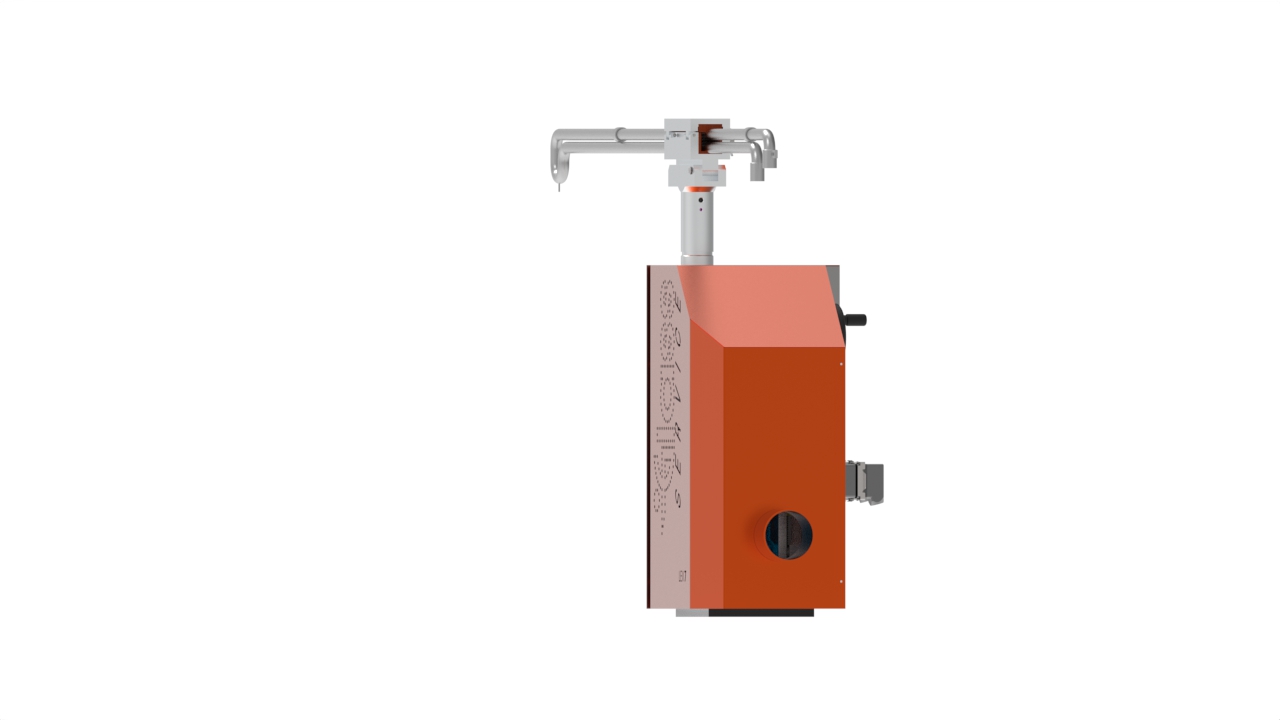
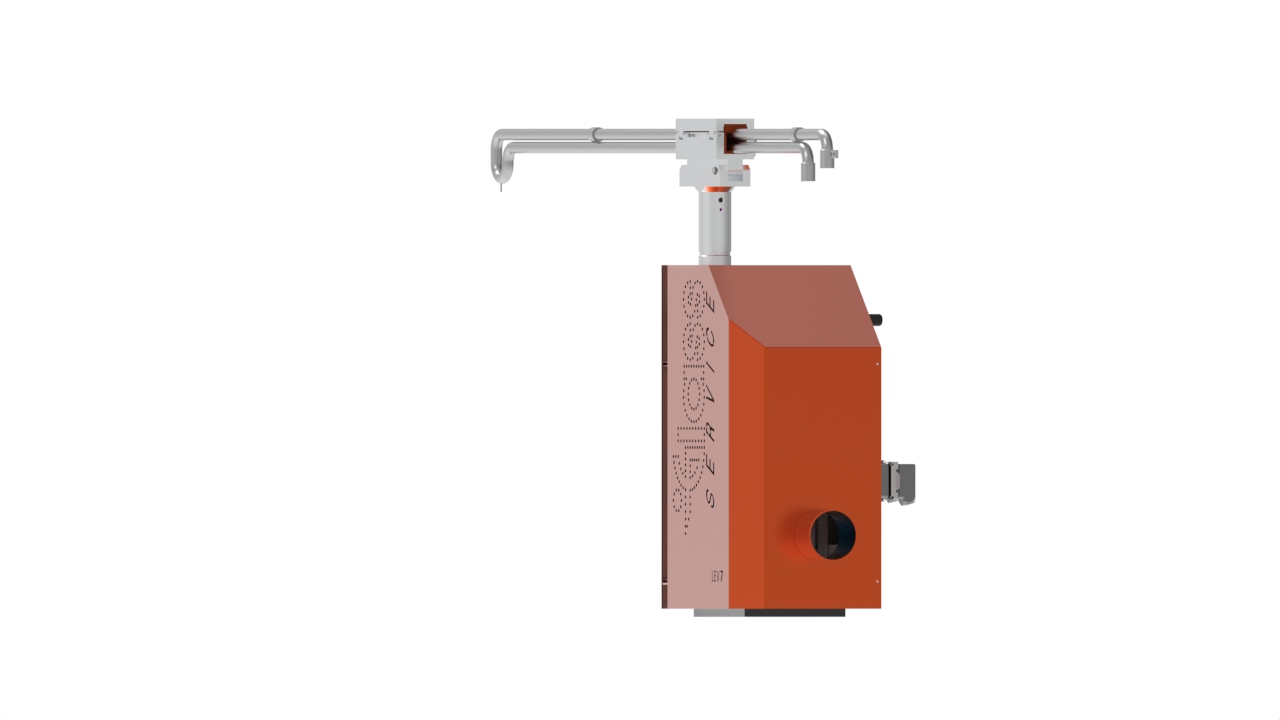
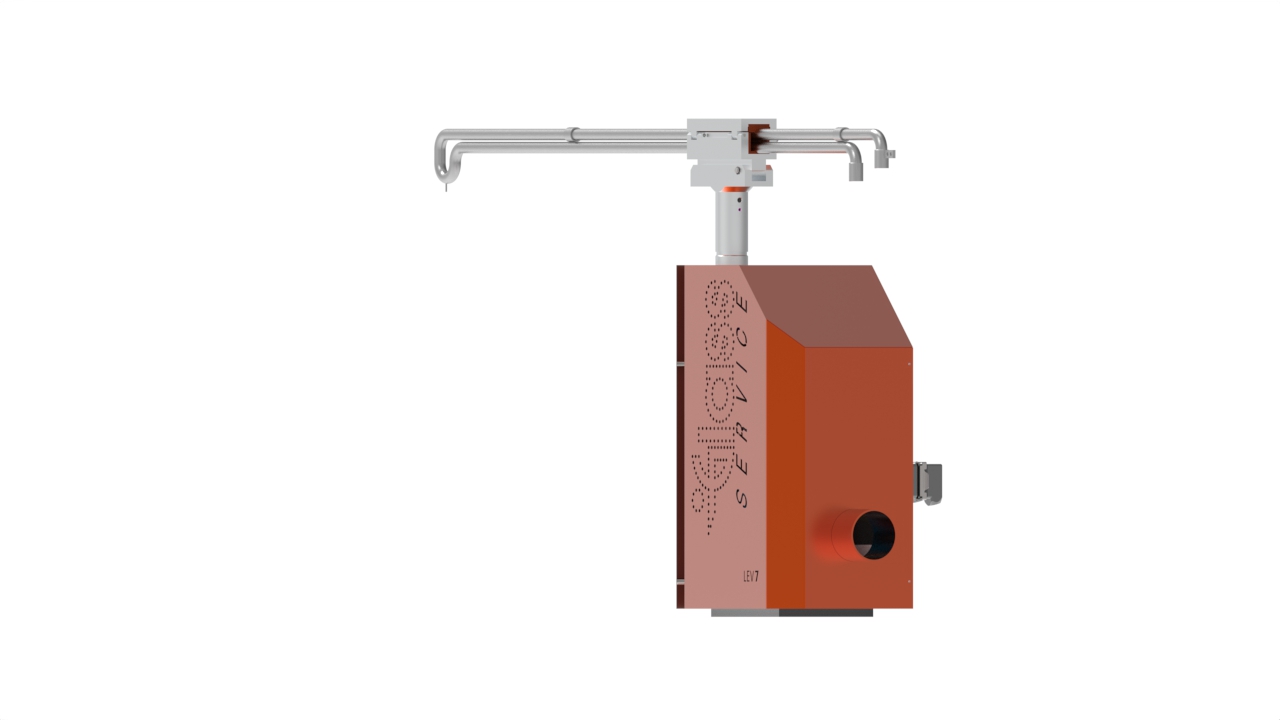
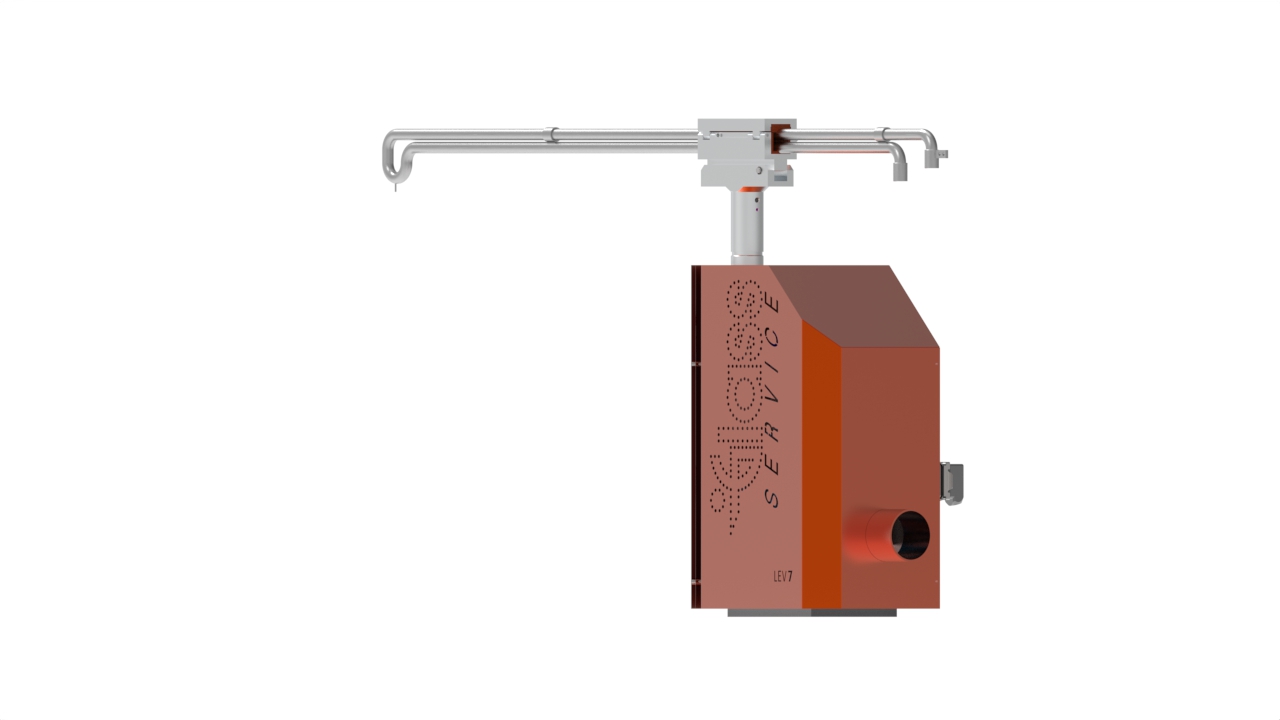
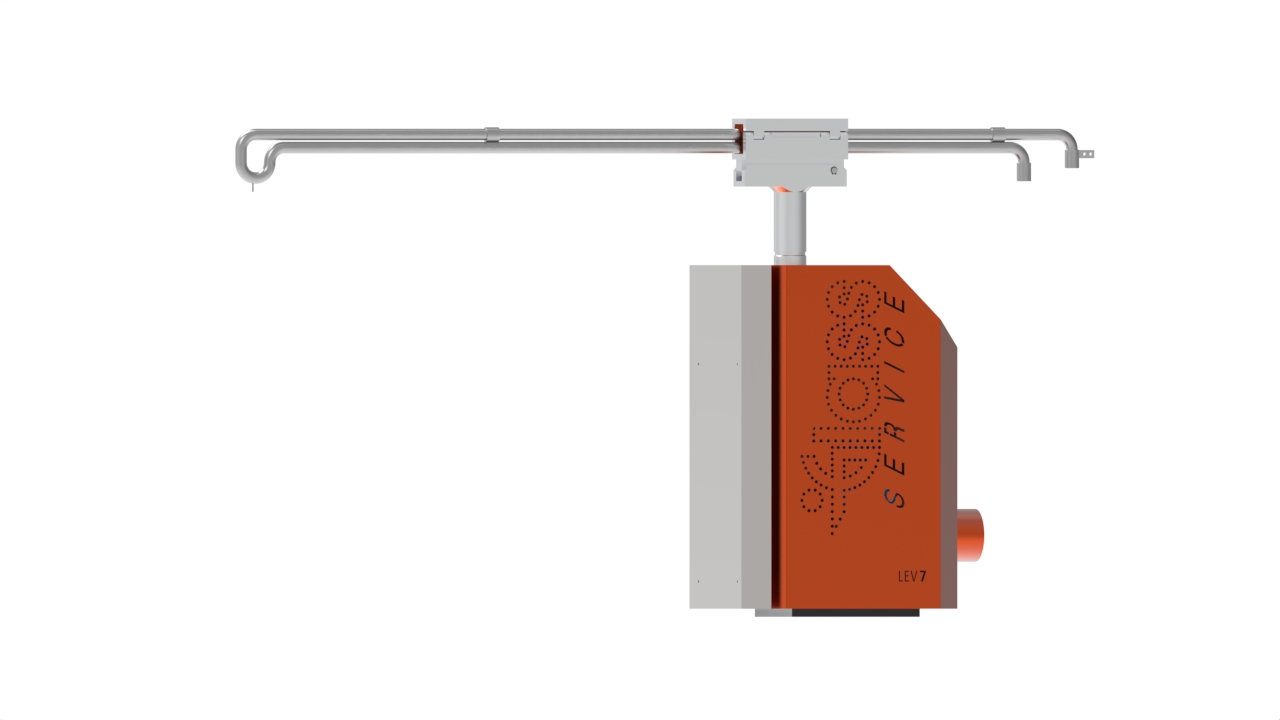
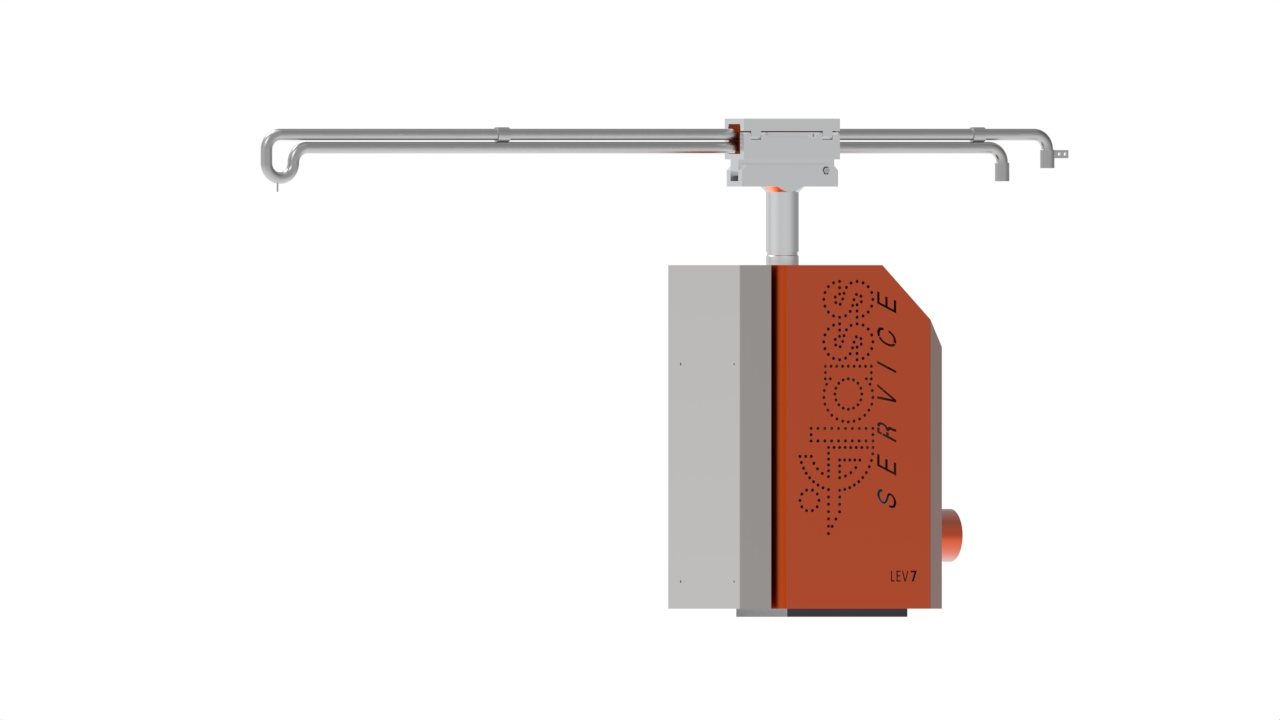
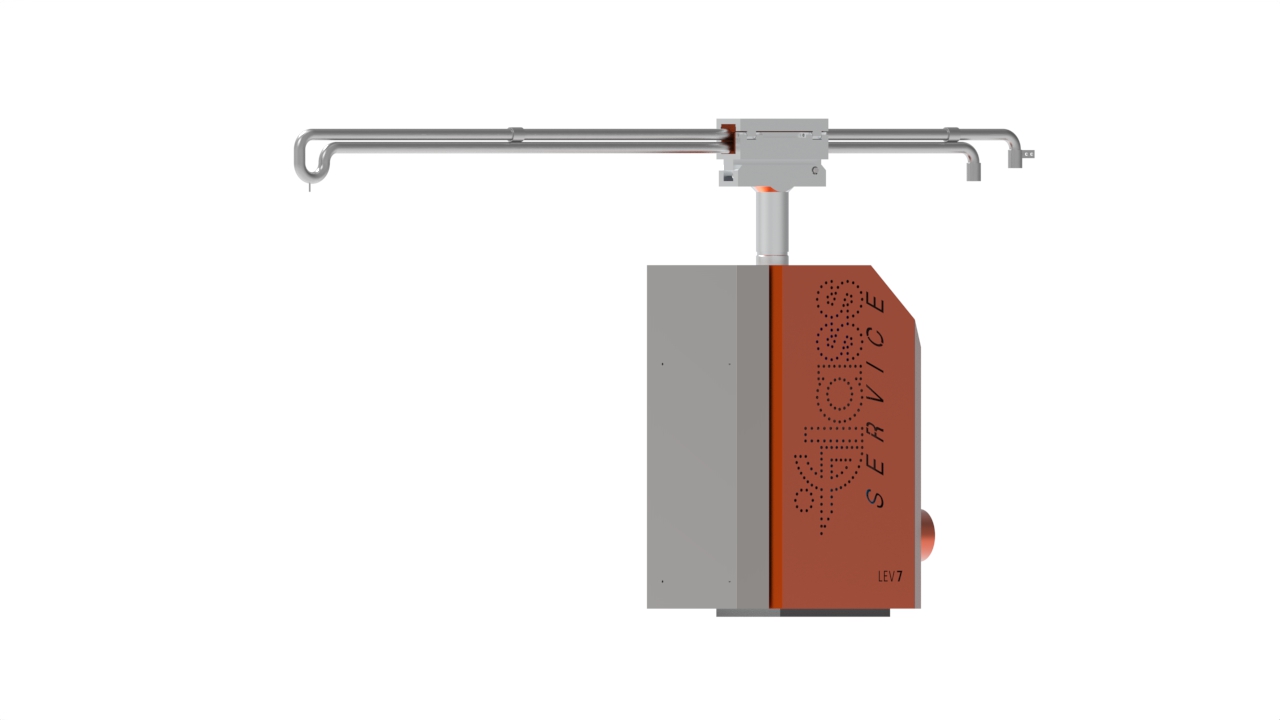
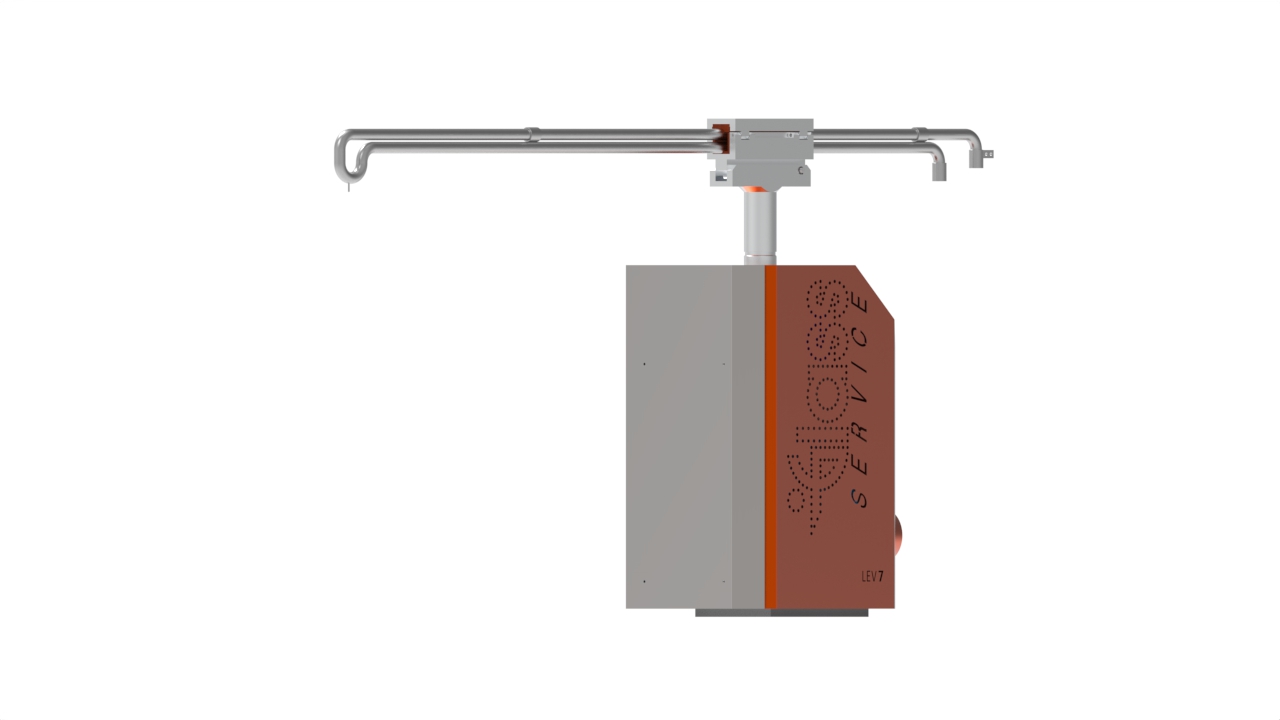
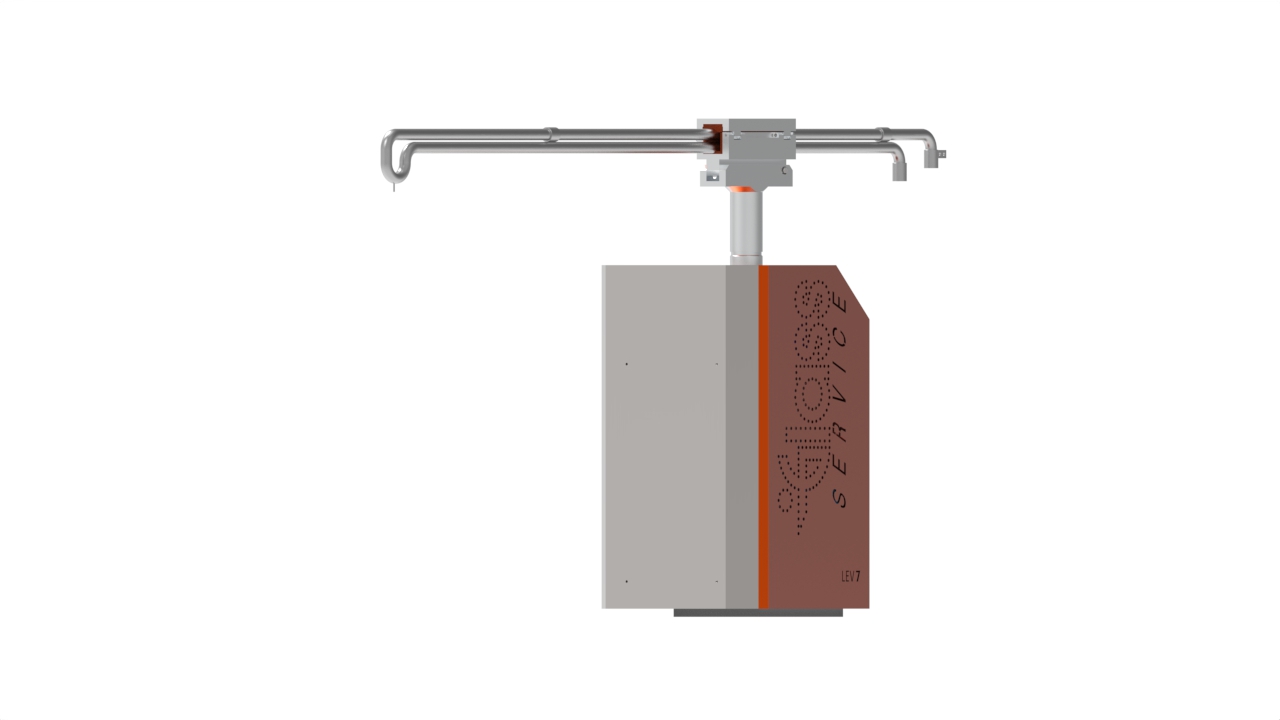
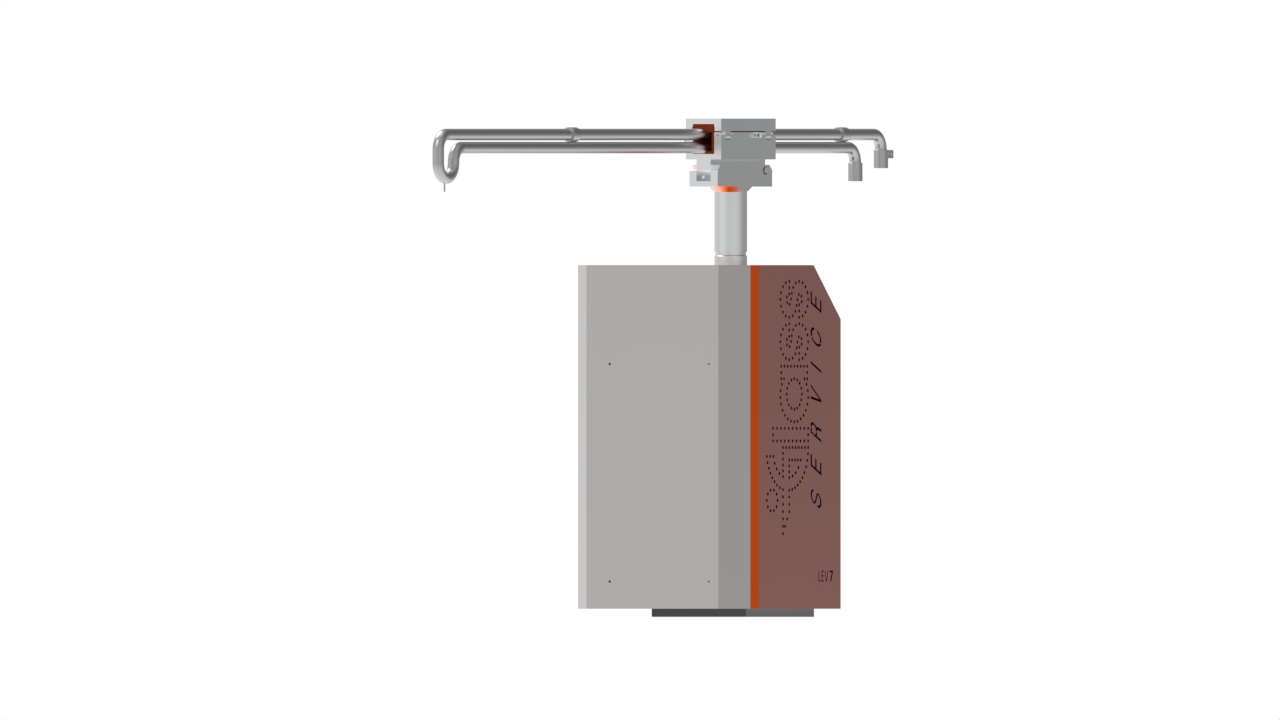
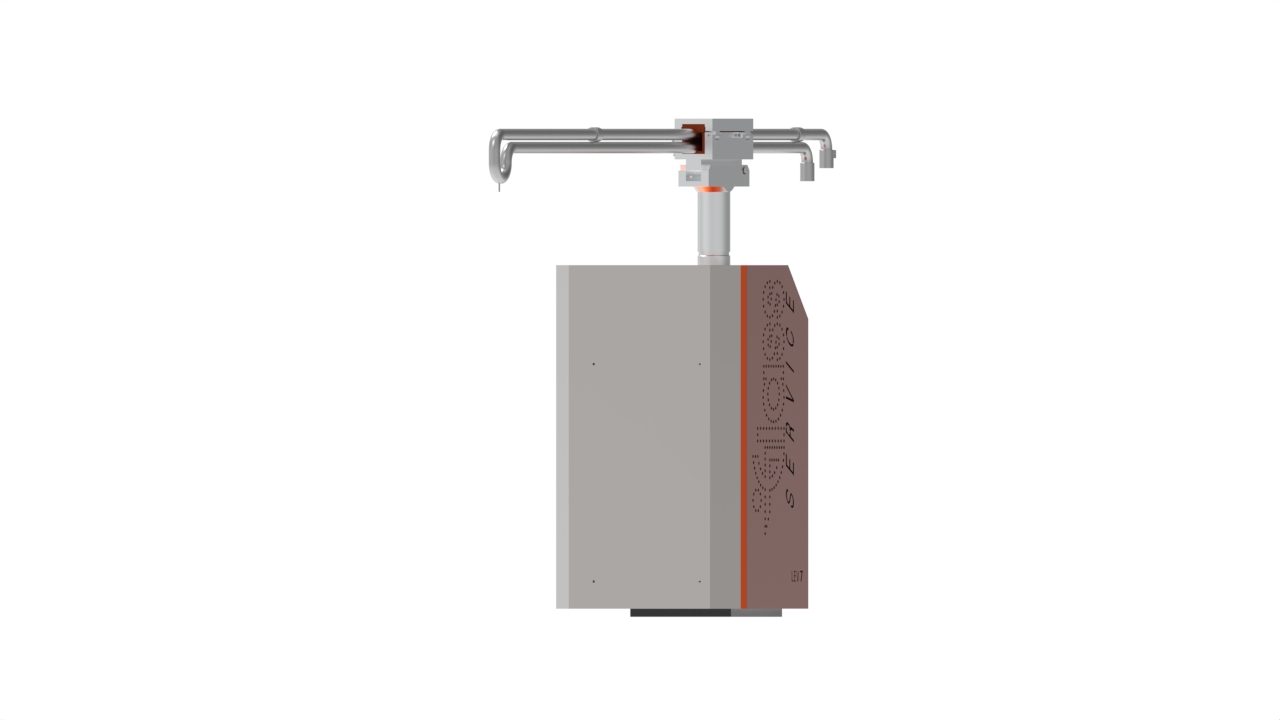
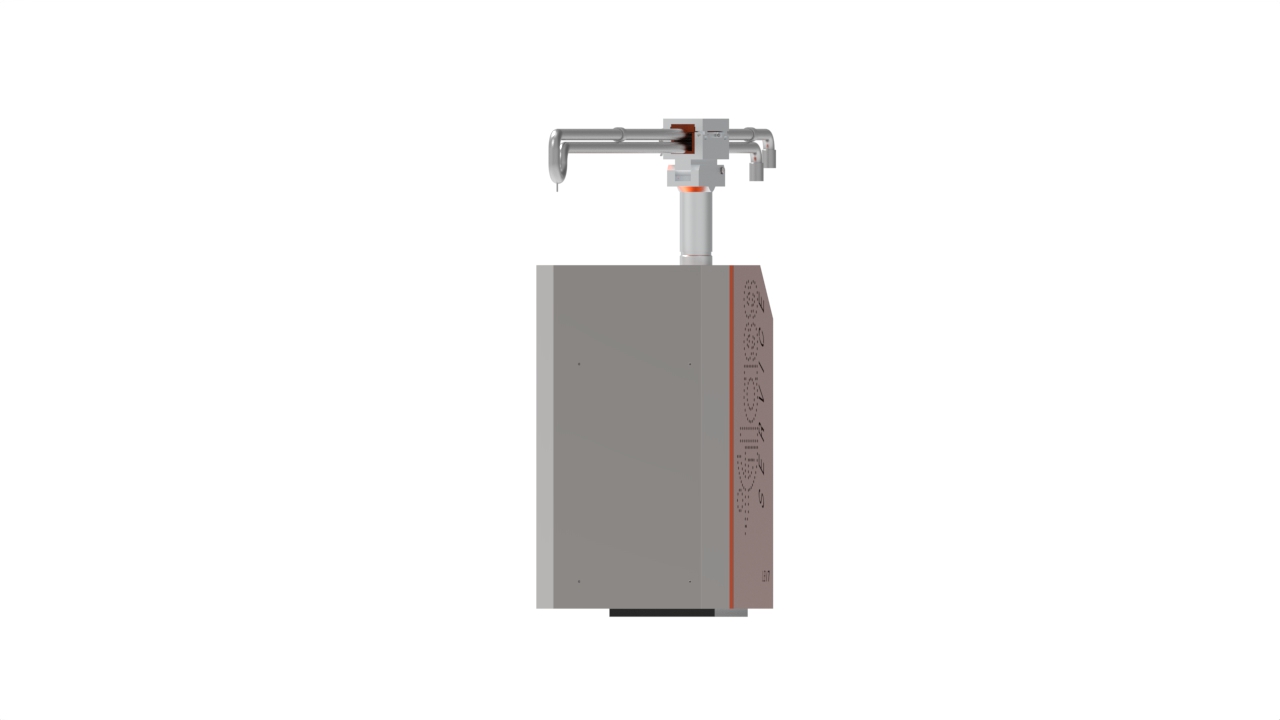
Model Lev 7
Glass level fluctuations have a large influence on the production quality and on the furnace efficiency. An accurate glass level control:
- Reduces fluctuations in the batch charger speed
- Reduces carryover
- Stabilizes the gas/fuel flow
- Stabilizes the furnace temperature pattern
- Reduces the energy consumption
- Increases the glass quality
- Increases the production efficiency
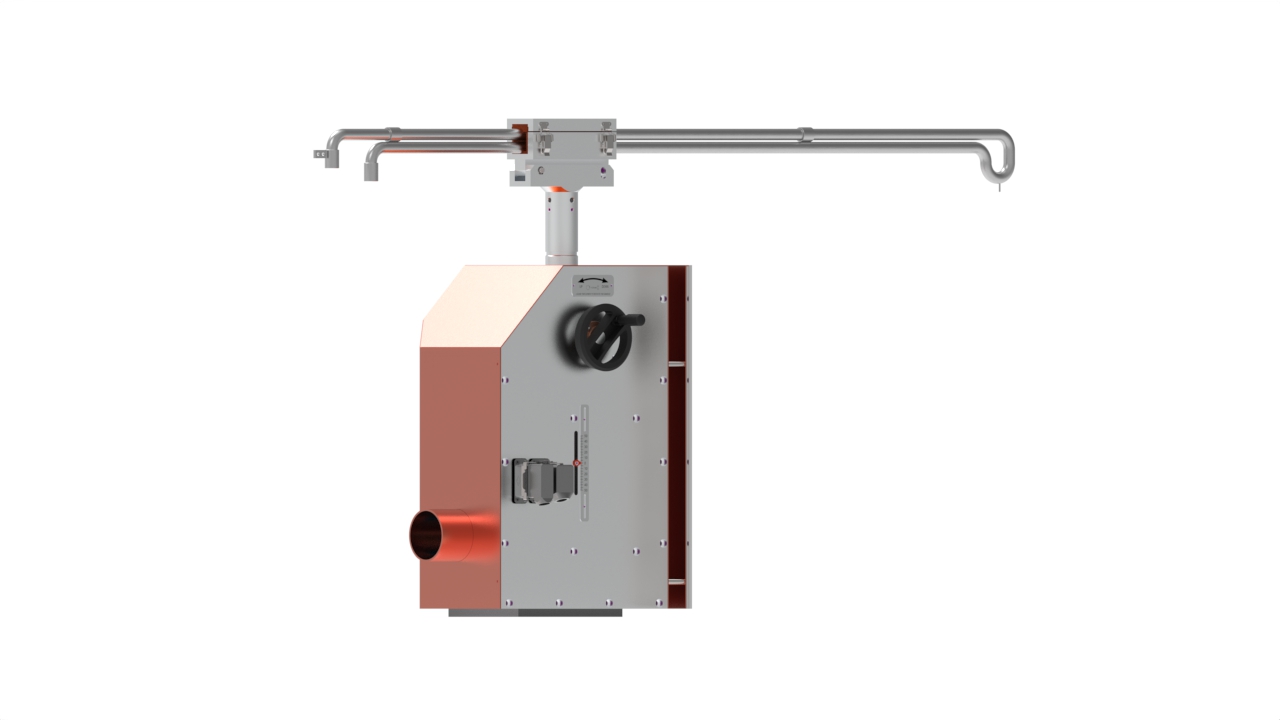
The Glass Service level control unit is a very precise machine using very simple principles and a robust mechanical mechanism to give precise measurement of the glass level in the furnace.
USEFUL LINKS
DOWNLOAD BROCHURE
Level control unit
The glass level is detected by a platinum tip touch the surface of the molten glass, to ensure a clean measurement, it utilises an electrical current to break any tail produced by contact with the glass.
All of the parameters detected, (touch speed, touch frequency, recession speed, etc.) can be programmed from the dedicated touch screen PLC with optimal settings for the specific furnace and glass type.
The glass level is detected by a high precision optical encoder directly connected to the platinum tip by a mechanical play free mechanism.
Glass level controls have to operate in very arduous conditions, the Glass Service level control is very reliable and is designed for 24h/7d operation in high temperature environments, to be user friendly and for easy maintenance.
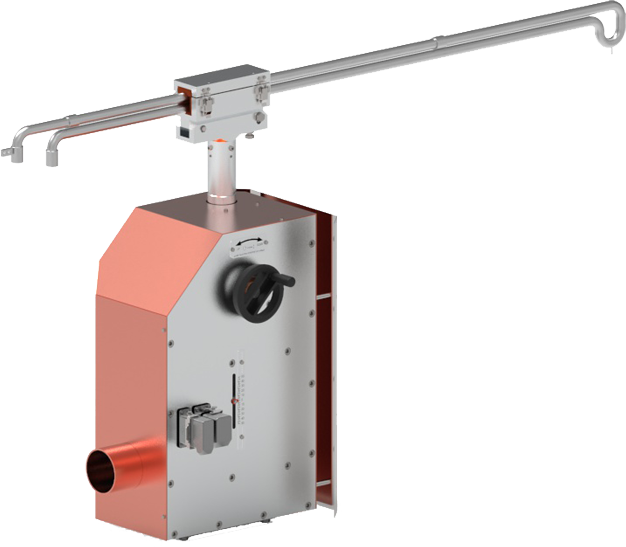

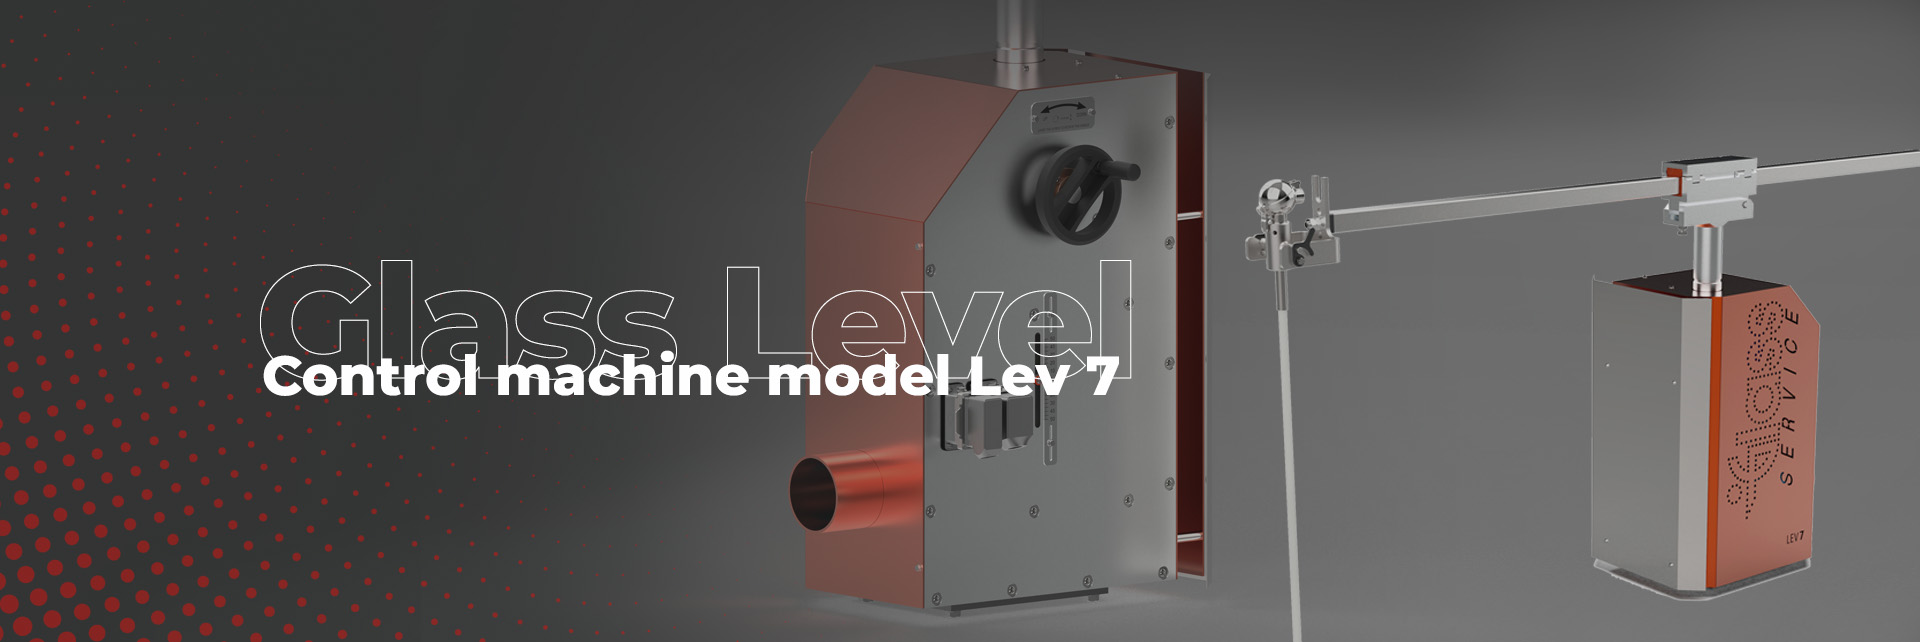
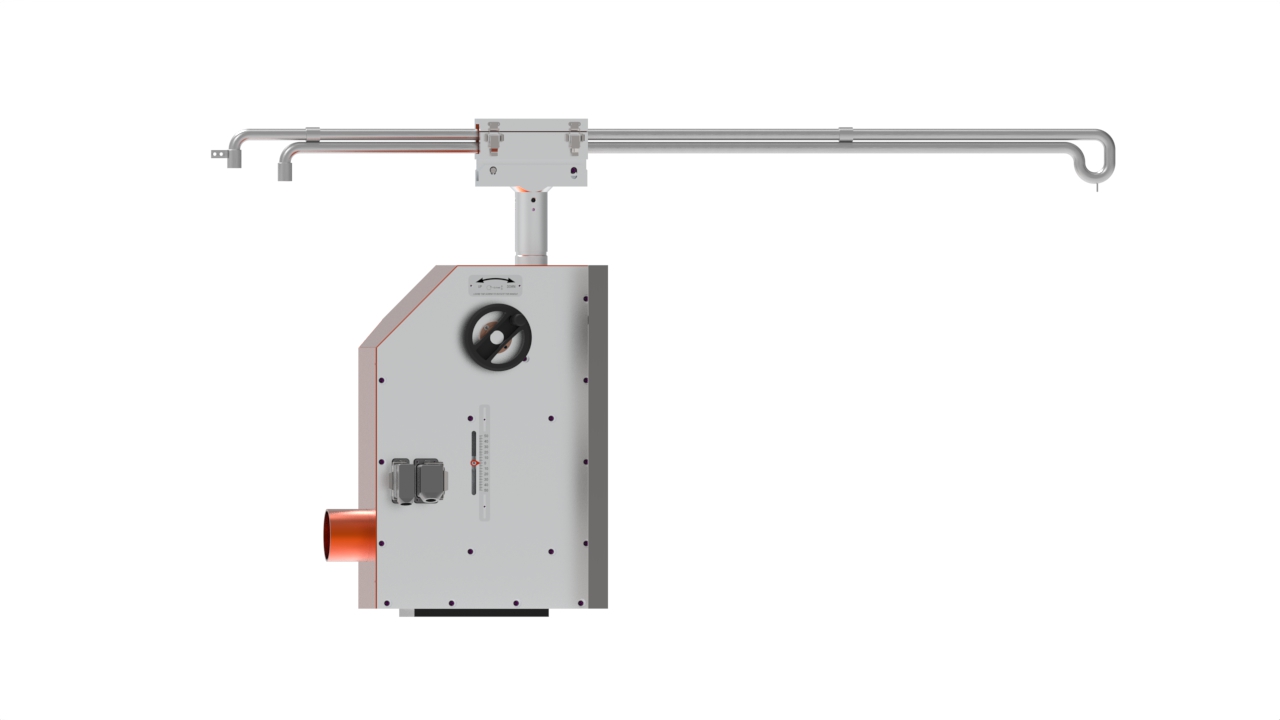
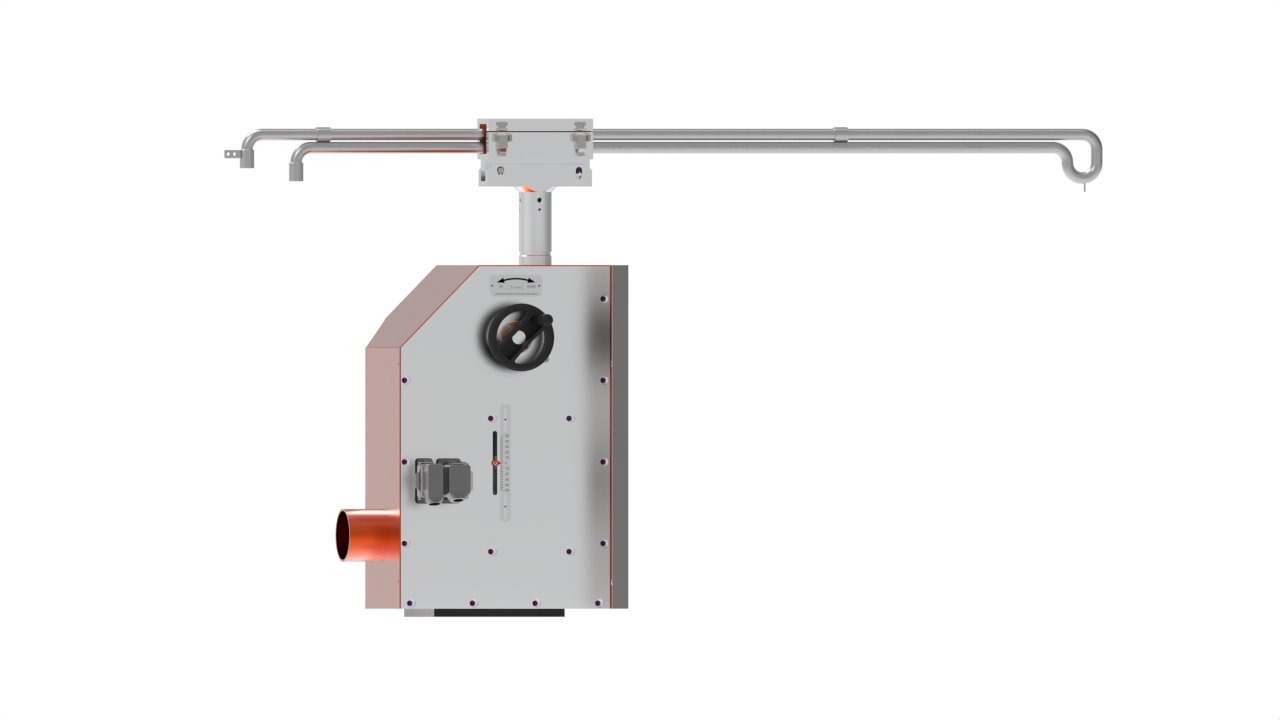
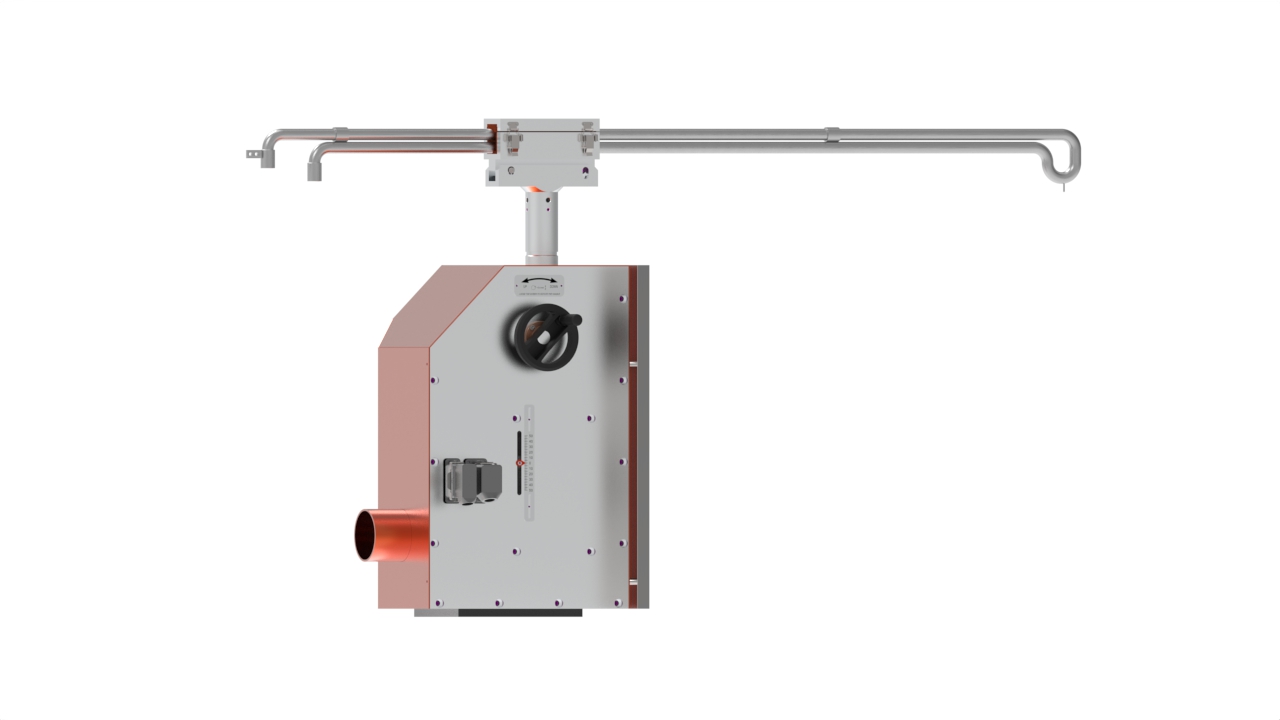
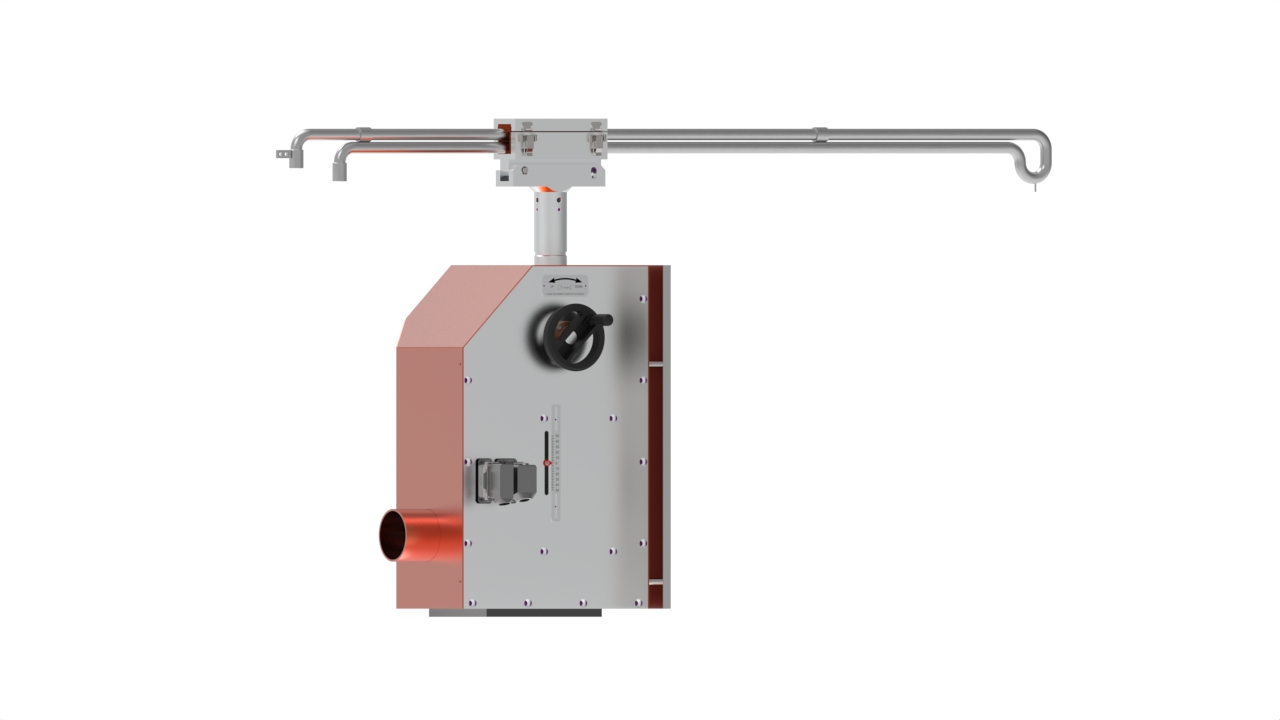
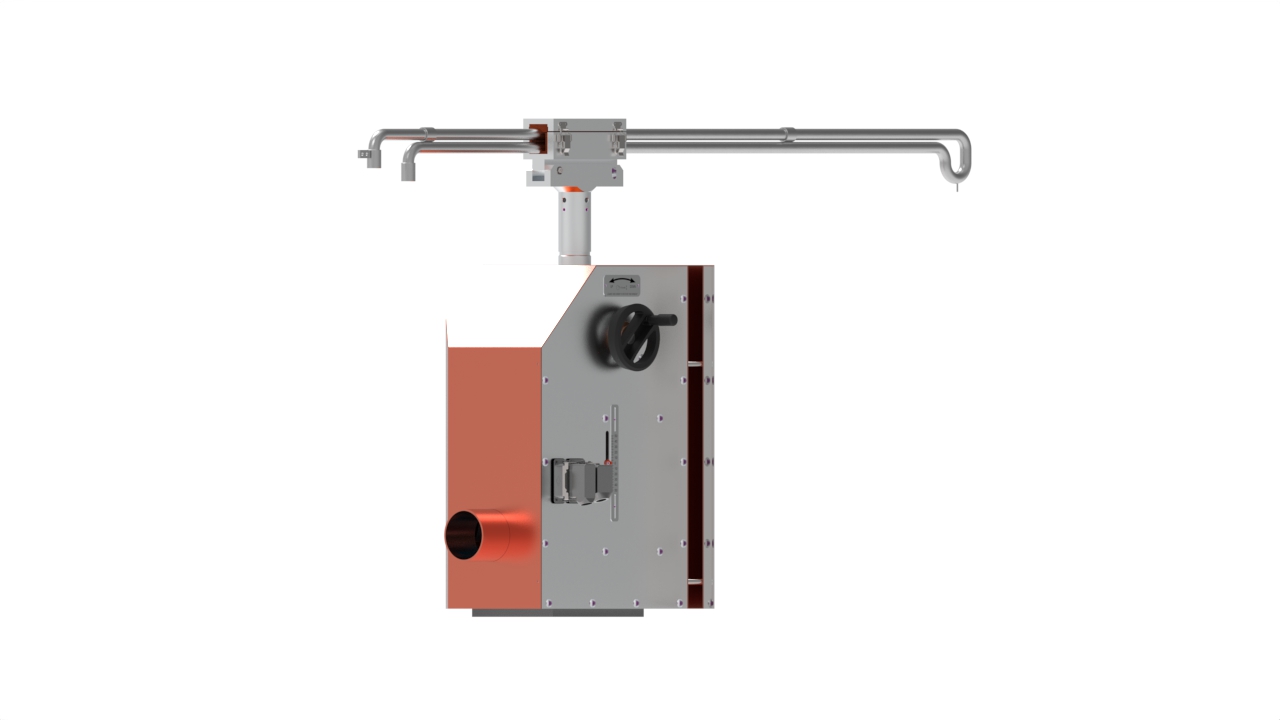
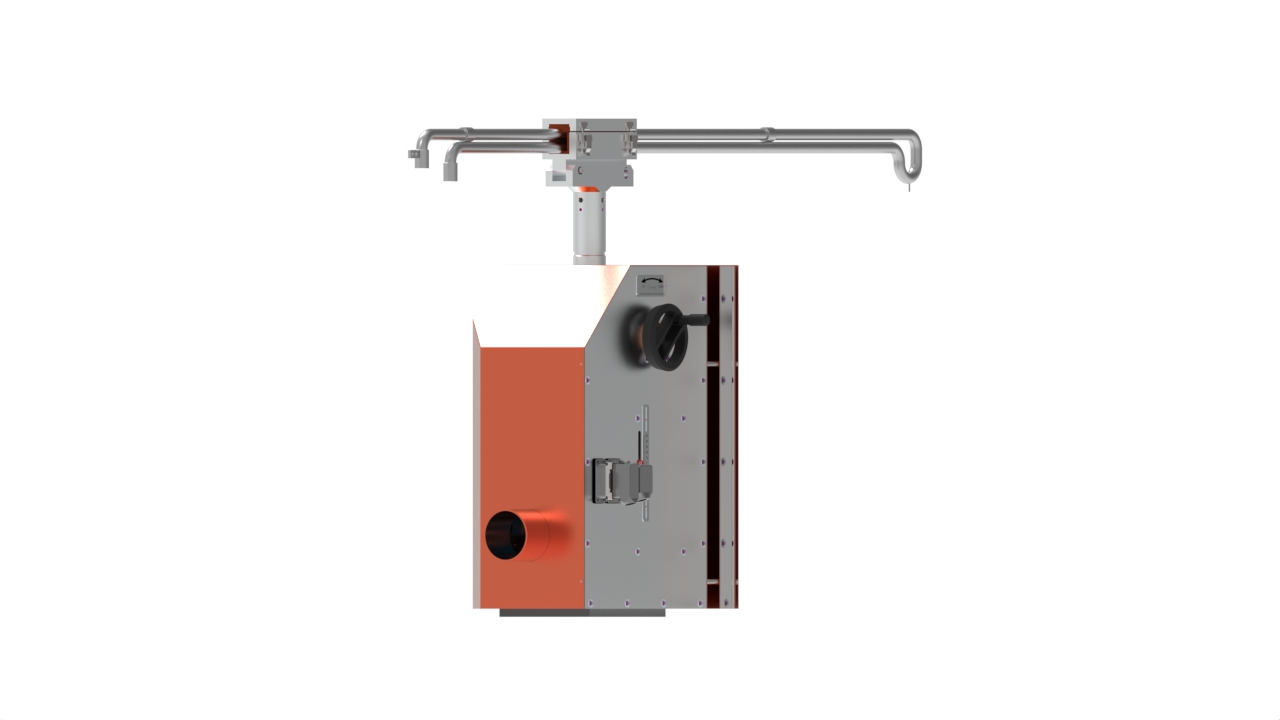
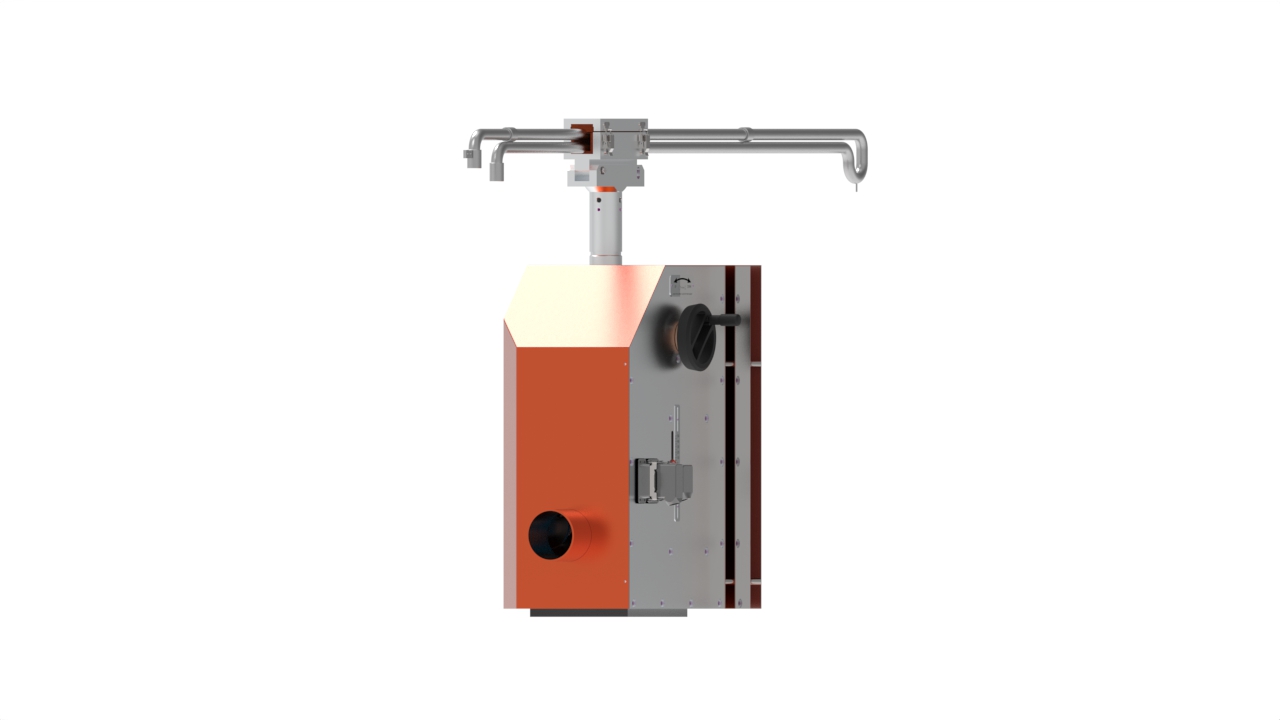
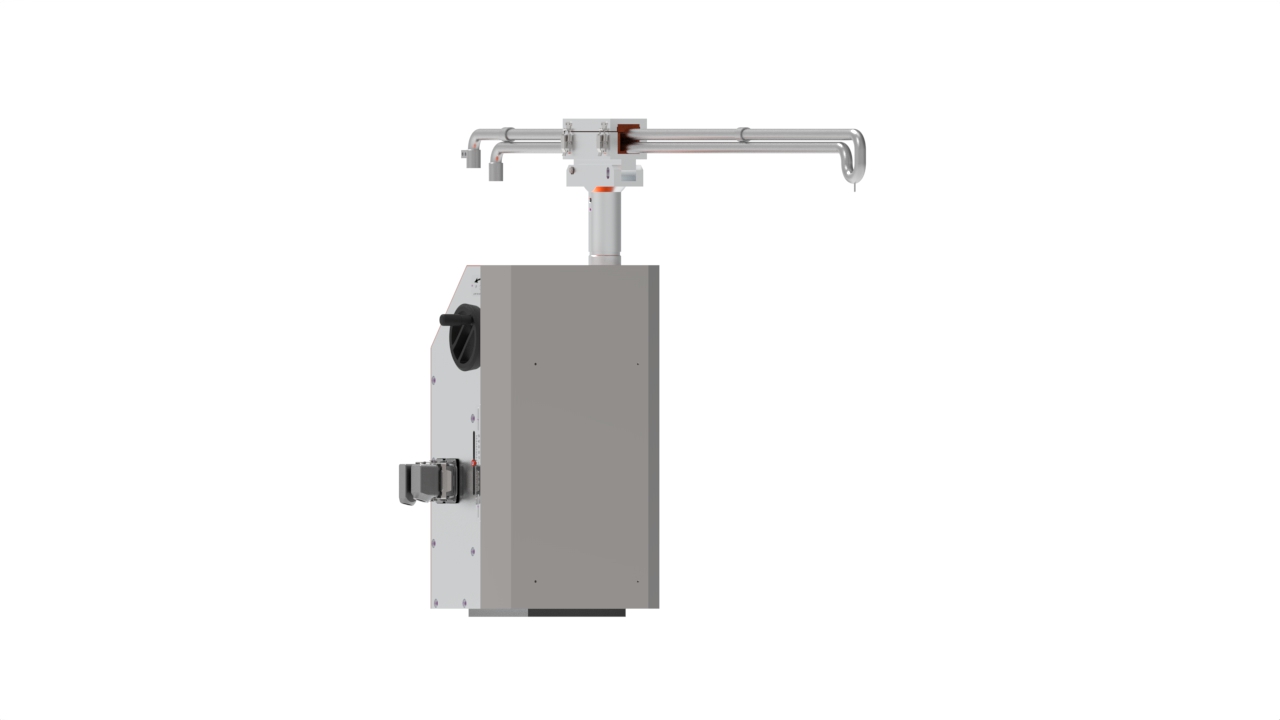
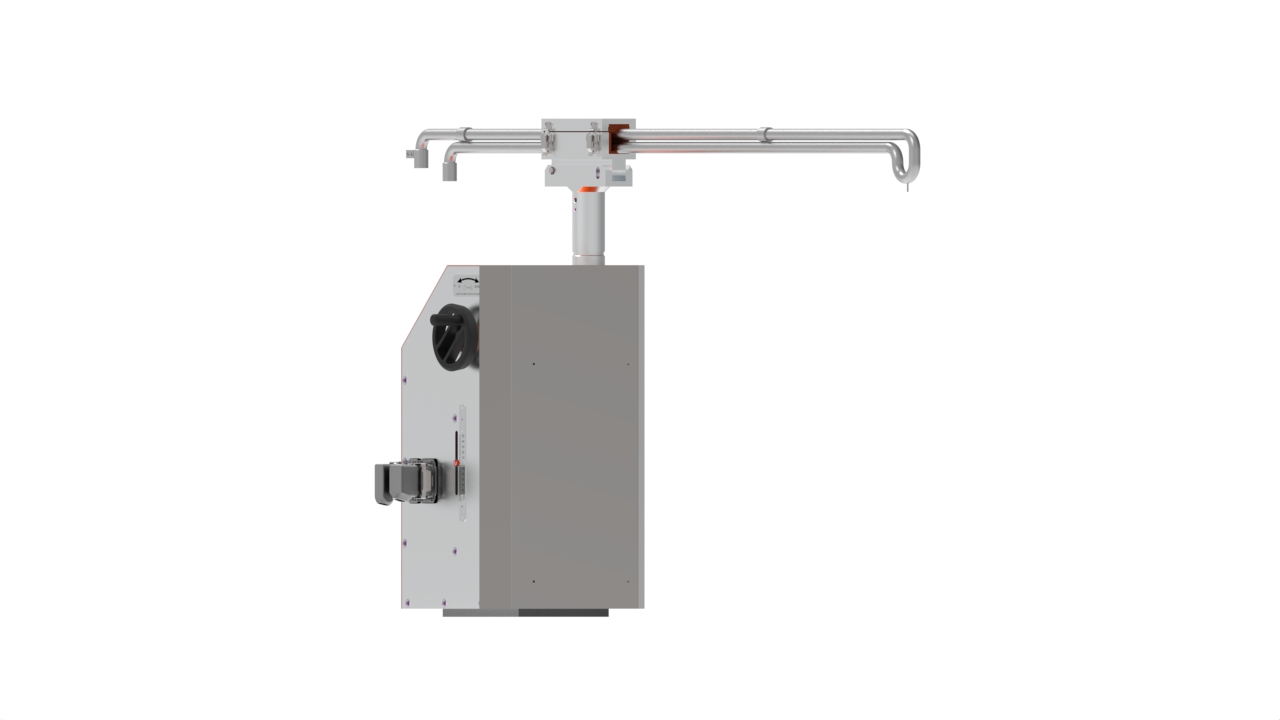
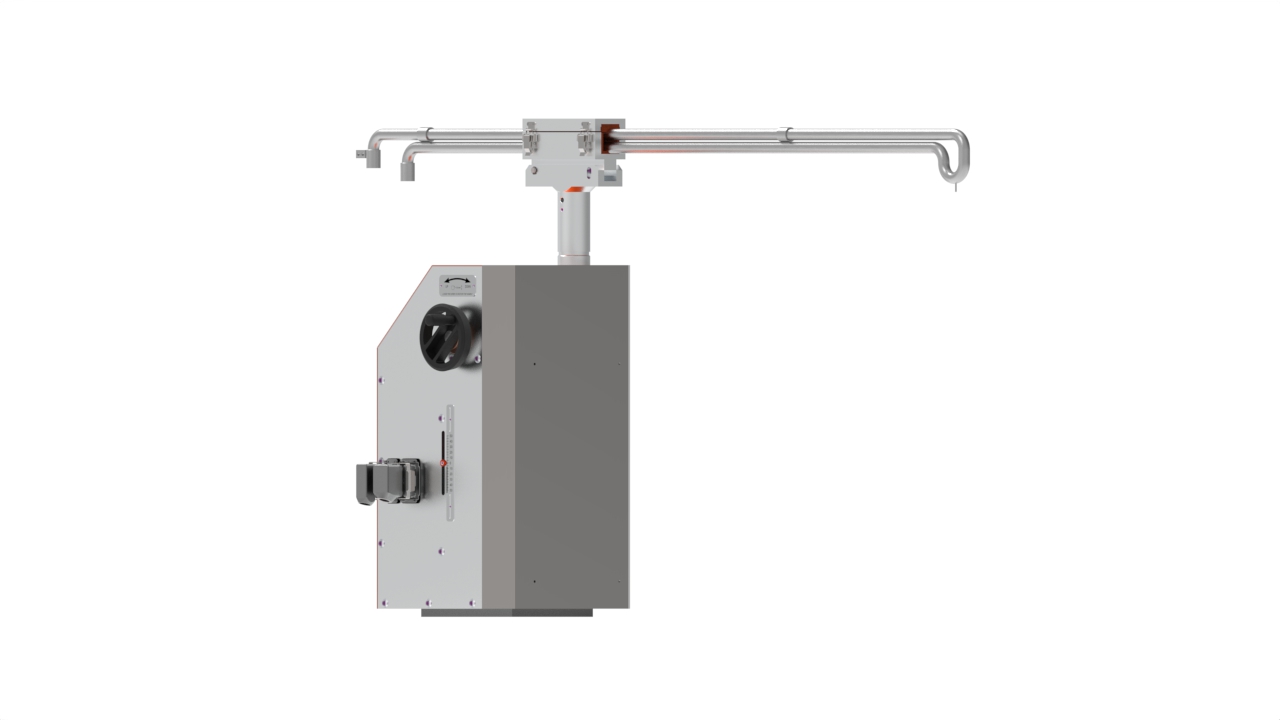
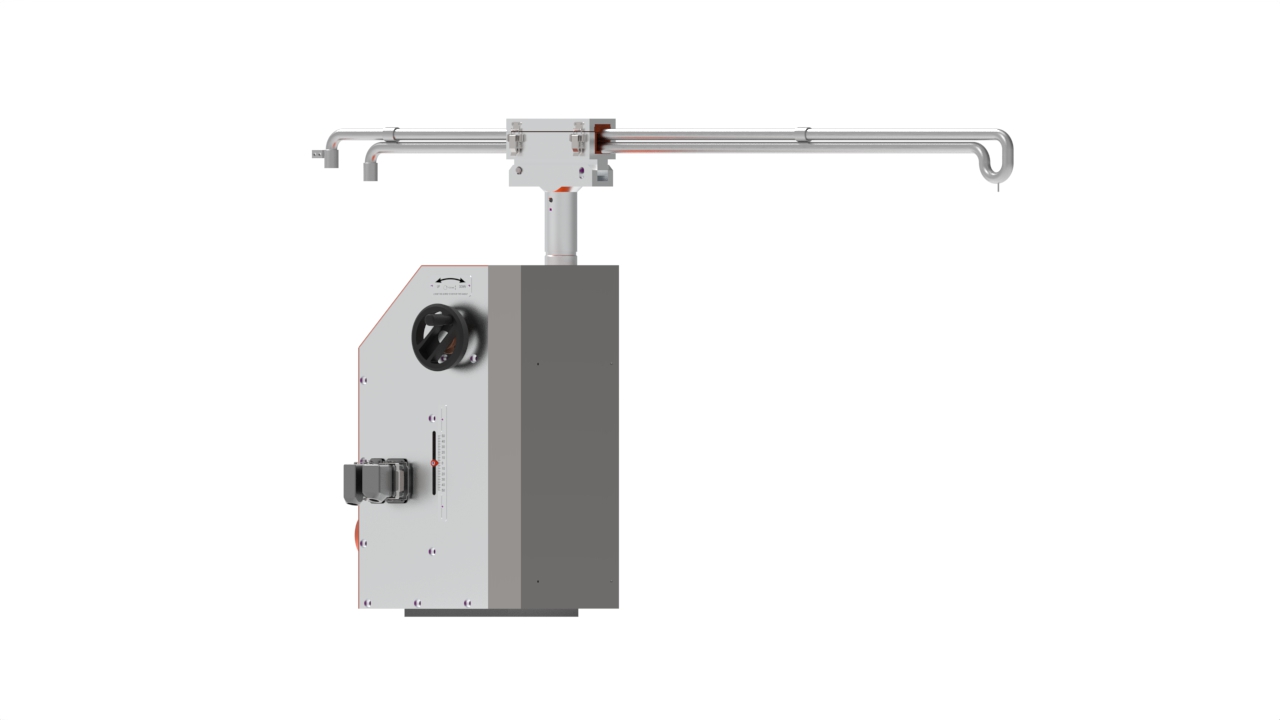
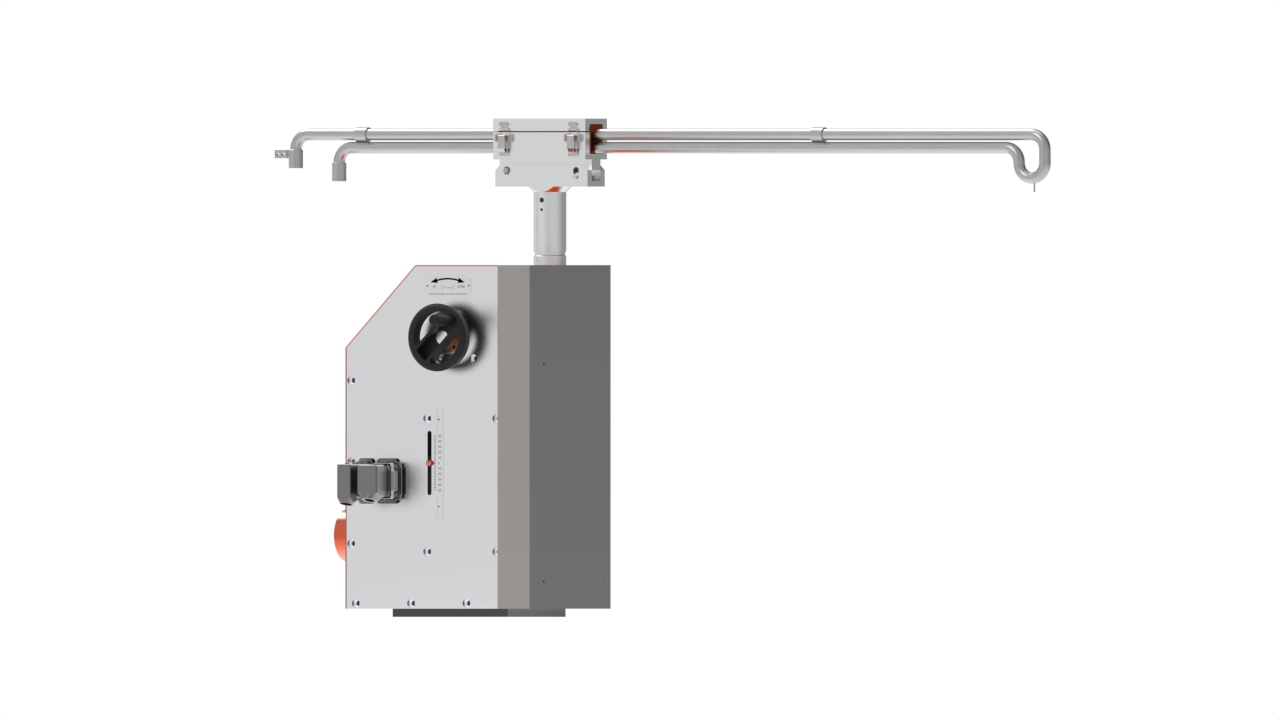
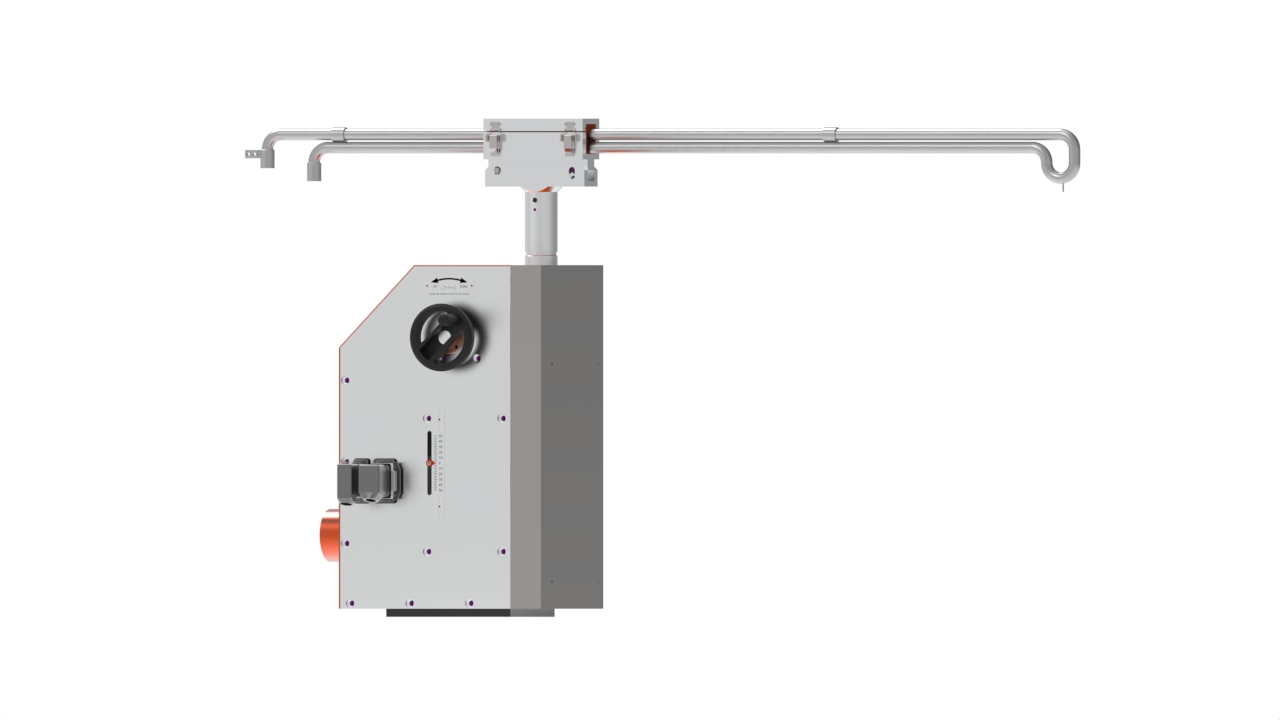
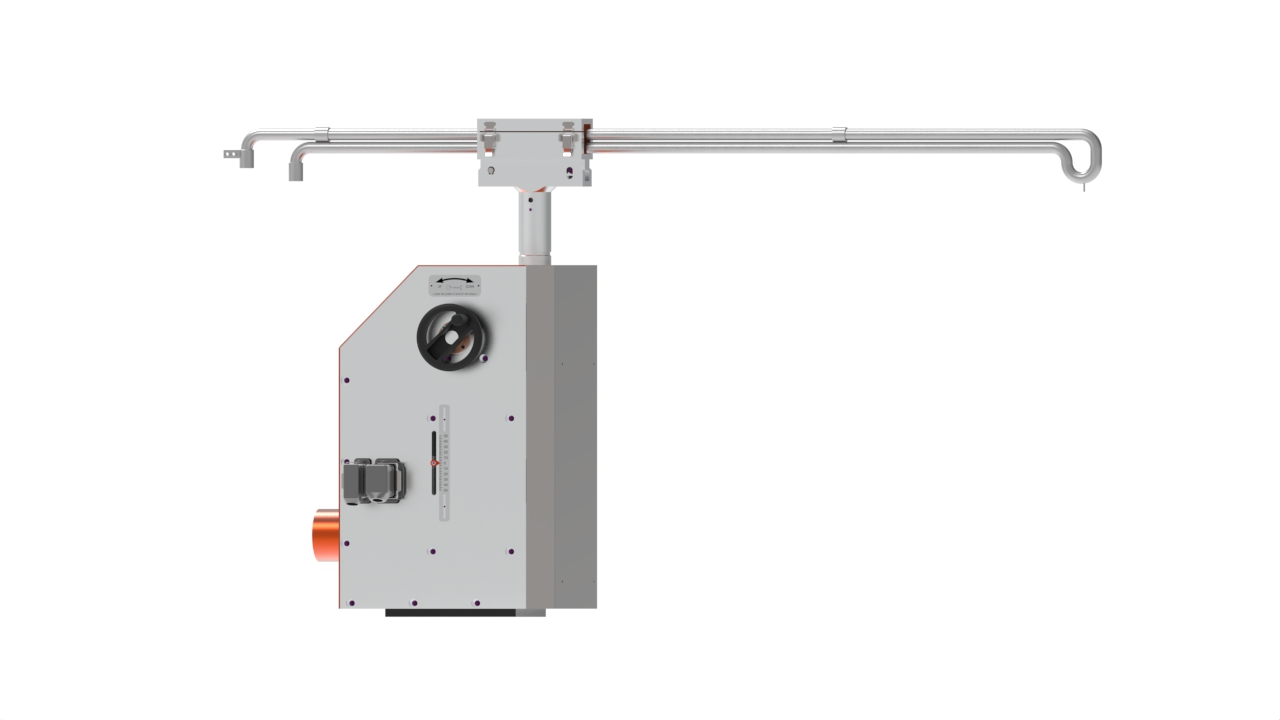
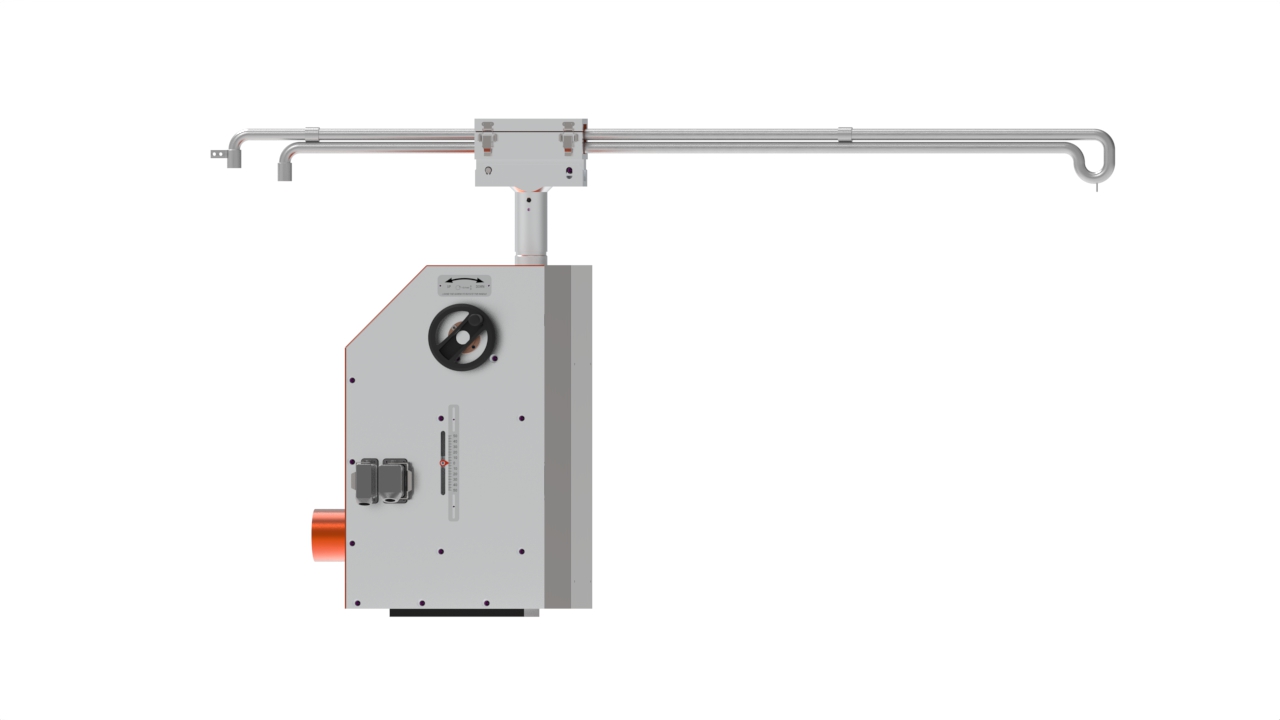
Glass Level Control Machine Model Lev 7
LEV7 supports two probe configurations:
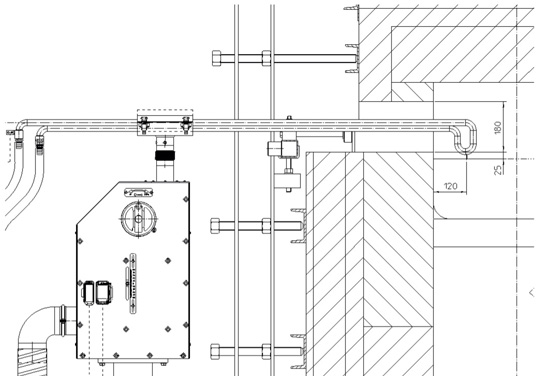
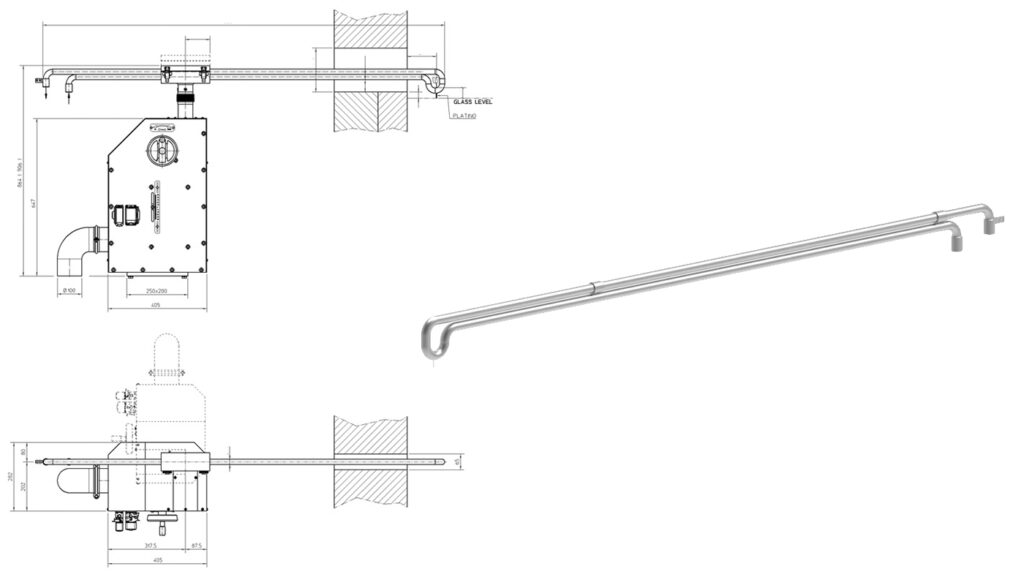
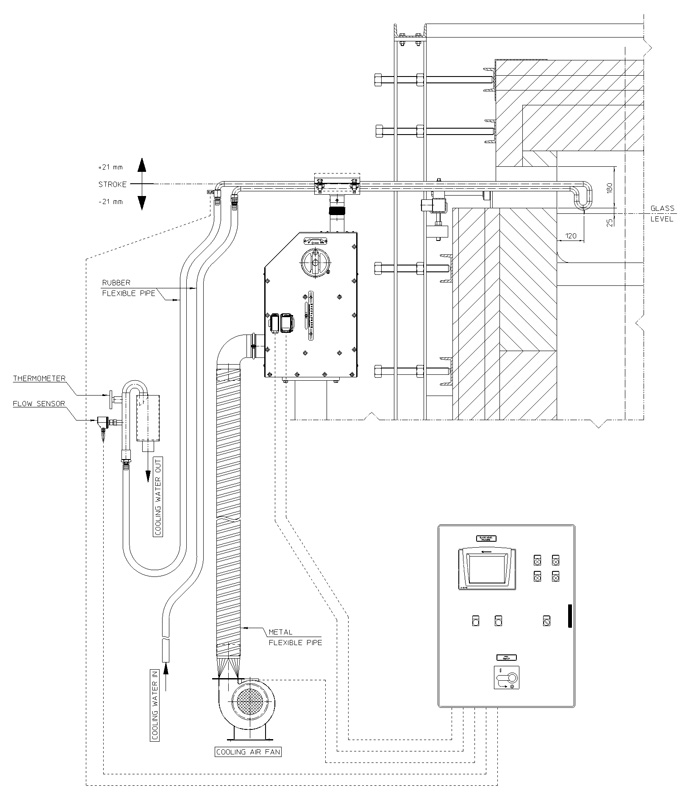
1) Side Wall installation – water cooled metal probe with Platinum tip
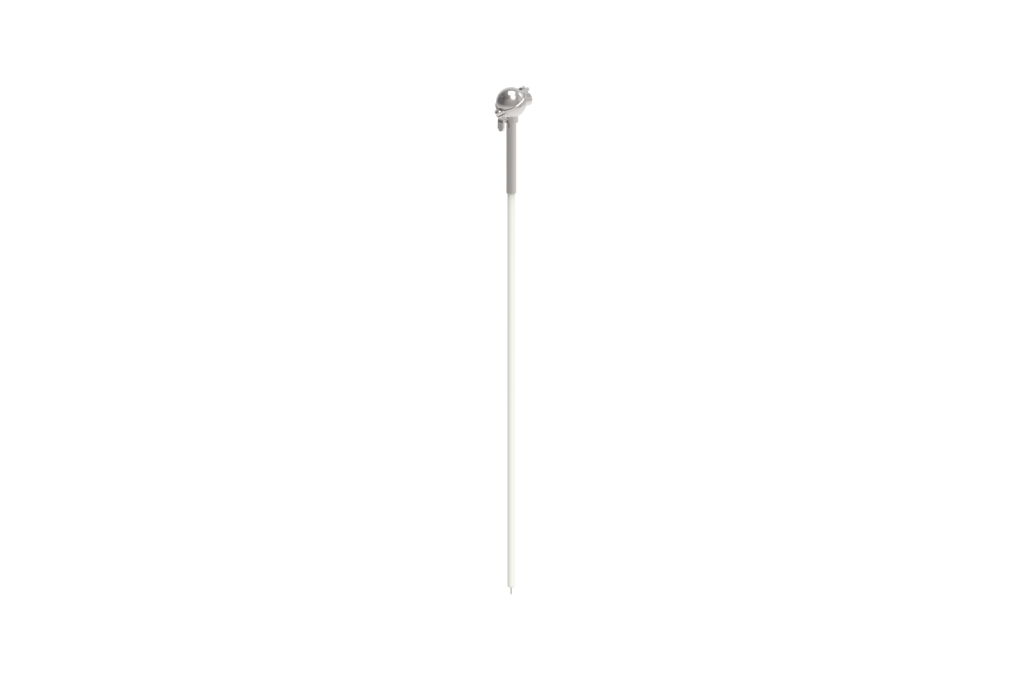
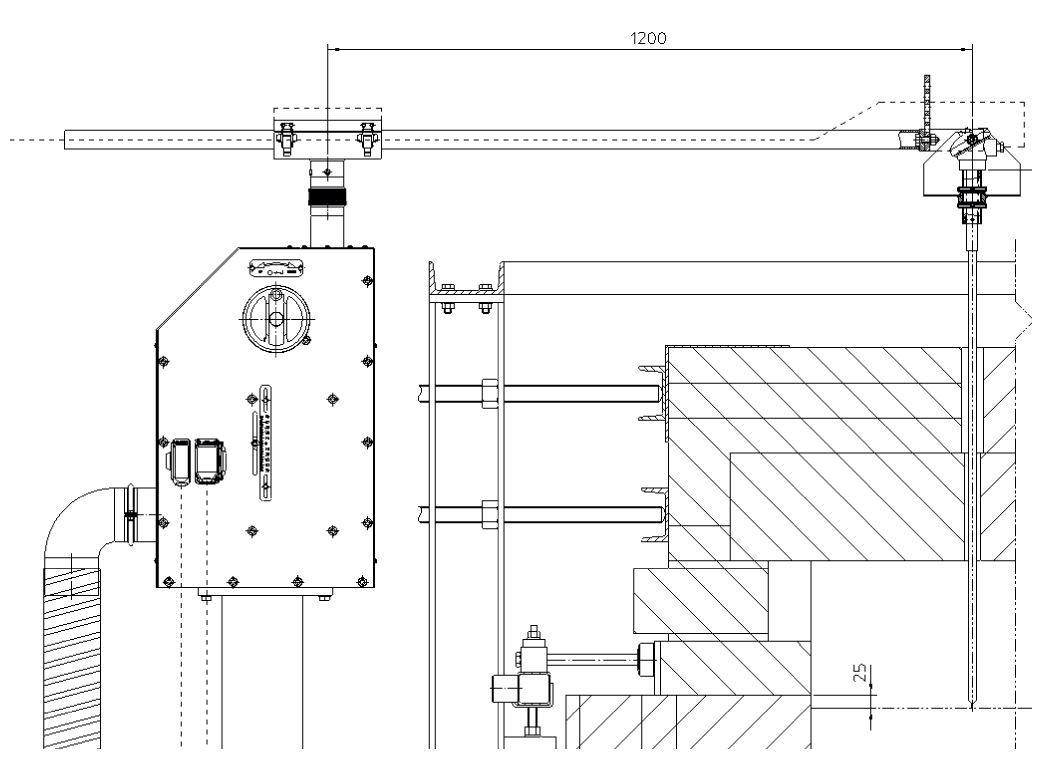
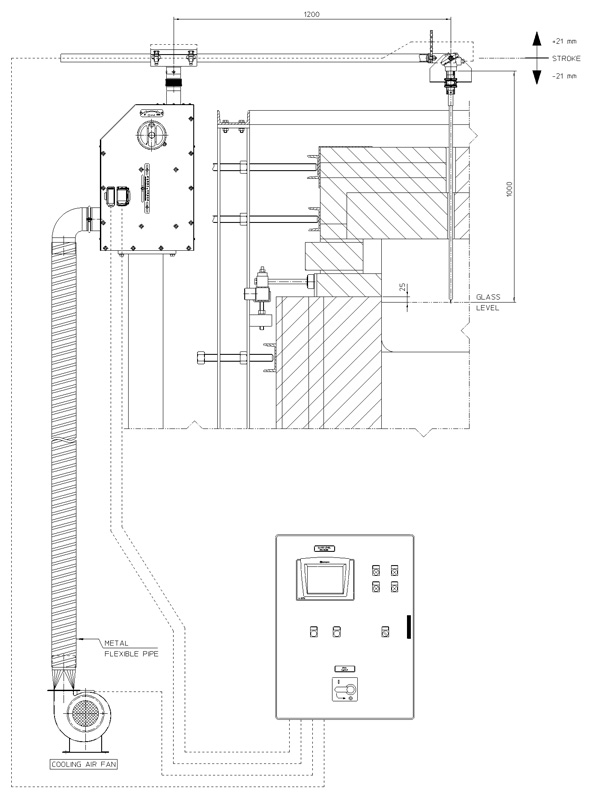
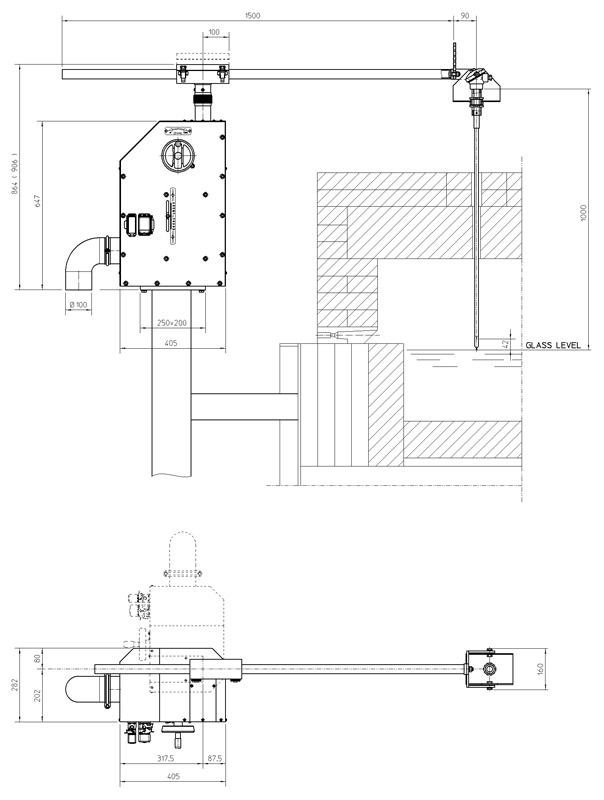
2) Top installation – vertical alumina probe type with platinum tip
Glass level measurement is achieved through a Platinum/rhodium sensor that, by touching the glass surface closes the detection circuit. The probe assembly is moved up and down by means of a sturdy crank-rod mechanism with two different speeds, starting with a higher speed, as the probe approaches the glass, the speed is reduced for accurate glass level detection. The crank position is controlled by a high precision encoder and the resulting vertical stroke is calculated by the control PLC. When glass is detected the machine reacts simultaneously by:
- Raising the probe at high speed
- PUsing a high voltage transformer to generate a high current electrical impulse that will avoid any glass particles from adhering to the probe tip.
As a result of this process the PLC will then update two analog or digital output signals, proportional to the measured glass level and the glass level set point. The output signals can be used to:
- Directly drive a batch charger machine (the LEV7 model, through a PID loop or ON/OFF control, is ready for direct control of a batch charger).
- Displaying/processing through another management system (PLC, DCS, etc.).
The system is designed for easy handling of all working parameters such as: frequency of the measuring cycle; ON/OFF electrical impulse;
approach speed; measuring speed; etc…
NEW FEATURES
- Vertical probe position regulation by mechanical handle: maximum stroke 100 mm and position indicator with a resolution of ± 1 mm
- Internal ball bearing type autorotation probe device
- Vertical shaft movement on ball bearings
- Quick change mechanism to facilitate easy probe removal
- Cabling through suitable connectors for easy machine connection
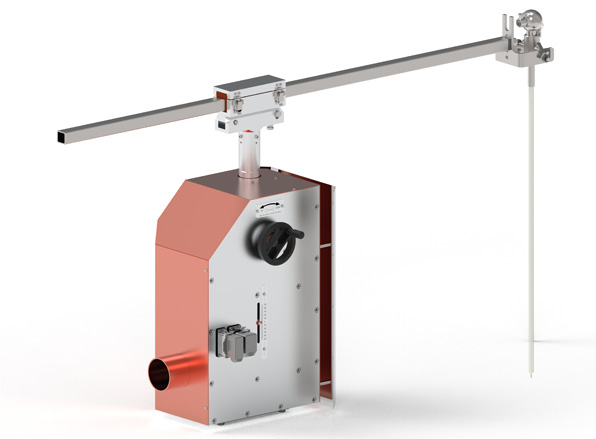
Lev 7 main features (others available on request)
- Auto zero detection
- Glass level auto calibration
- Level Set Point programmed from touch-screen, with process overview
- Touch screen LCD
- Movement by asynchronous servo-cooled motor driven by vectorial inverter, directly coupled on gear-box (without belts or chains)
- Vertical movement by sturdy crank-rod mechanism with ball bearings
- Resolution: ± 0.1 mm
- Repeatability: ± 0.1 mm
- Max vertical stroke: 40 mm
- Encoder can be excluded in case of fault
- Dedicated transformer for electric impulse to avoid glass sticking
- Programmable electric shock timing
- Programmable probe speeds
- Programmable measure-cycle timing
- Alarm messages on touch screen display
- Programmable High and Low level alarms
- Alarm contact output by electro-mechanical relay
- RED-GREEN-YELLOW lights for immediate indication of machine status
- Alarm horn
- 2 programmable 4 to 20 mA outputs
- ON/OFF output contact to drive ON/OFF batch charger
- Batch charger direct drive PID loop feature
- Ethernet Modbus optionally available
- Installed power: 0,34 kW, 220 VAC, 50 Hz.
Side wall configuration
Water cooled side installation. Single pipe probe in stainless steel with platinum/rhodium tip Ø3 mm x 15 mm, total length 1600 mm. For this installation a side slot will be required in the forehearth or the distributor.
- Cooling water flow: 20 litres/min
- Max temperature cooling water Input: 35°C
- Max temperature cooling water Output: 45°C
- Water cooling pressure range: 2 to 4 bars
- Water request: chloride 50ppm, ph 8 to 8.5 calcium content 40ppm max
Installation from the top
Vertical probe in alumina 799 with platinum/rhodium tip Pt Ø2 mm x 15 mm. The probe total length is 1000 mm plus the DIN type connector head.
